For client yet to have USDT wallet, the client could register USDT wallet at below third party platform:
You can either use your mobile phone or computer webpage to register. If you cannot log in to the USDT trading platform, it is recommended that you log in by selecting US and European regions after turning on the VPN.
VPN could get from Kuaimao, ShadowRocket or Qilin. iOS user also can search keywords "VPN" at their phone and get the VPN. If registeration for USDT wallet at respective platfrom requires VPN, then you must use VPN to login your USDT wallet as well. If you are not able to login your USDT wallet, please open VPN prior login your wallet.
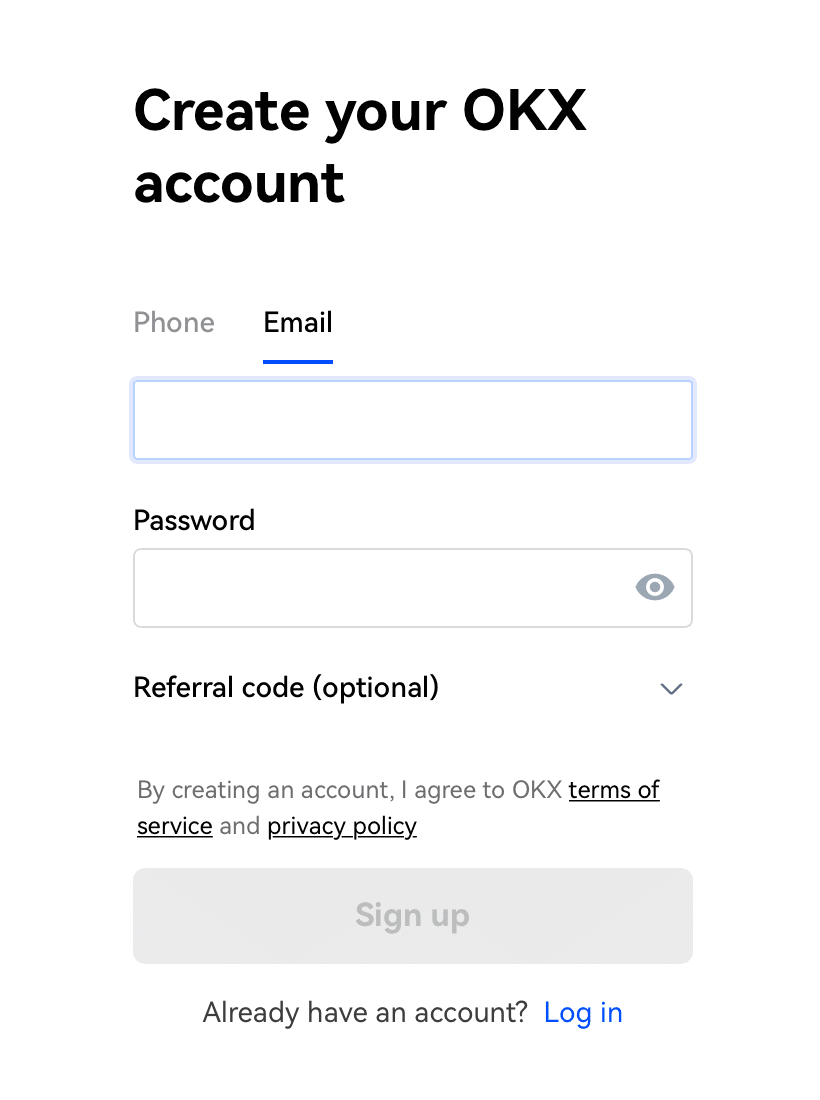
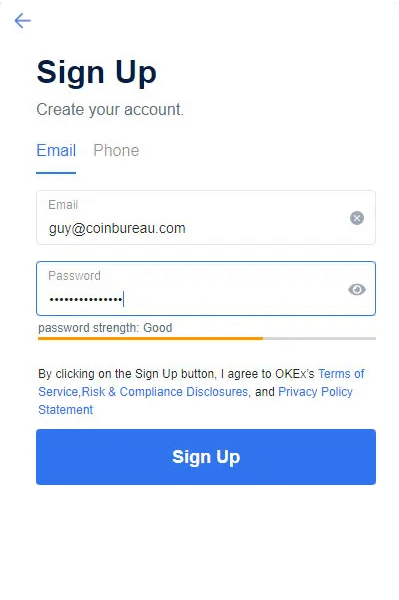
STEP 1You can signup OKX account by Phone or Email.
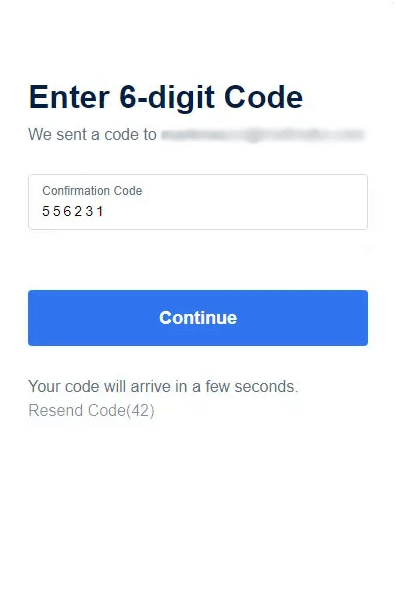
STEP 2After signed up, you will receive a 6 digit code to activate your account.
Why is KYC important in Finance & banking? KYC is a legal requirement for financial institutions and financial services companies to establish a customer's identity and identify risk factors. KYC procedures help prevent identity theft, money laundering, financial fraud, terrorism financing and other financial crimes.
STEP 1After input the correct information, you will pass KYC 1.
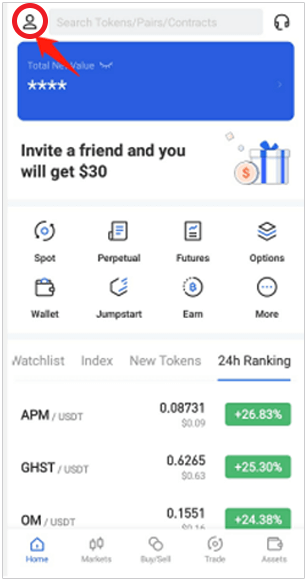
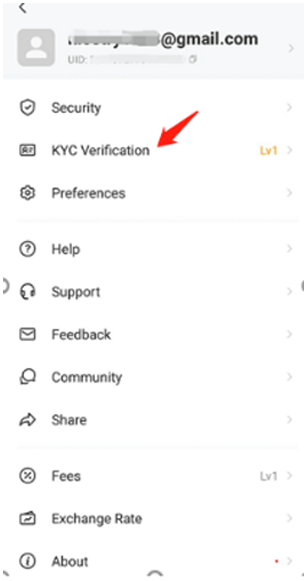
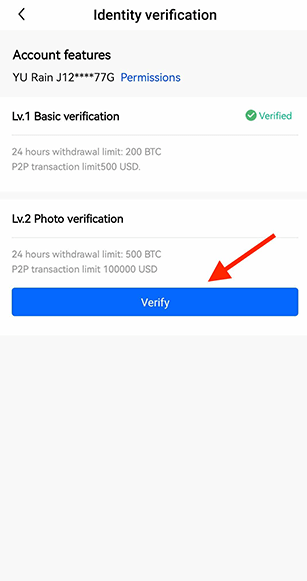
STEP 2Click “Verify” after done follow instructions. Lv.1 Basic Verification - You can start buy, sell, trade with your account. Or you can continue Level 2 to unlock higher limit of transaction.
Note:
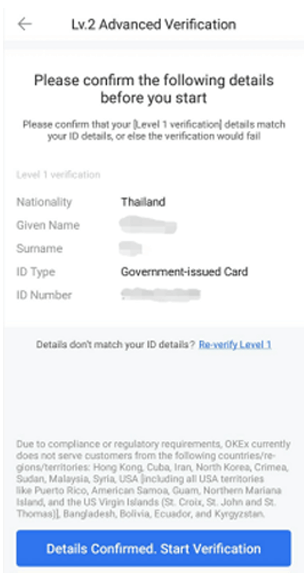
Lv.2 Photo Verification, It is required to upload your clear and standard identification document, confirm your personal information,and choose the device to verify. Your KYC 2 application will take some time to verify, your understanding and cooperation are highly appreciated.
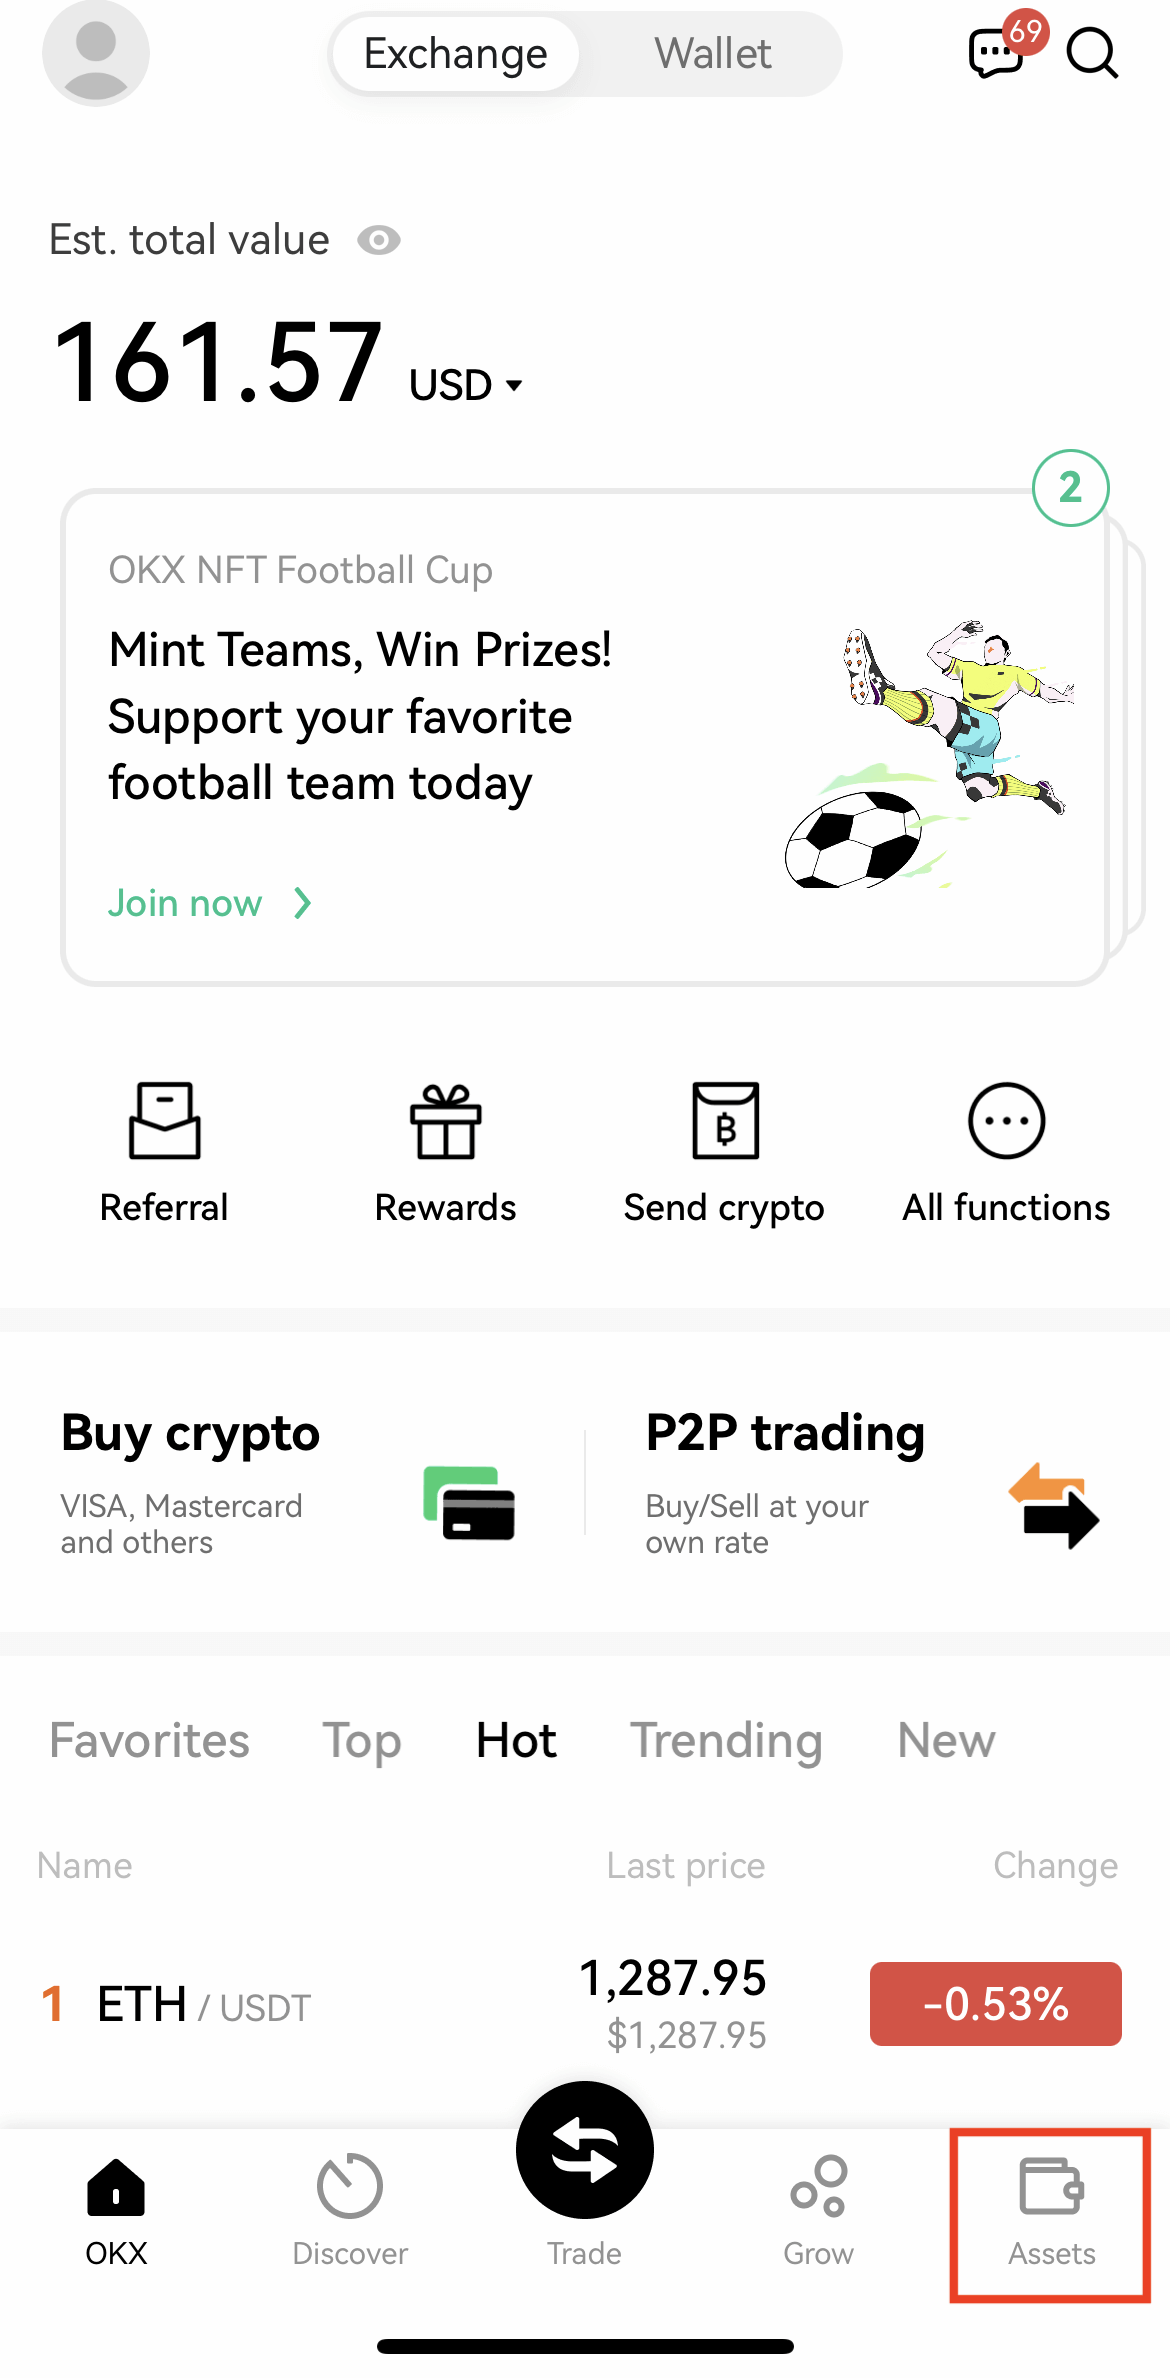
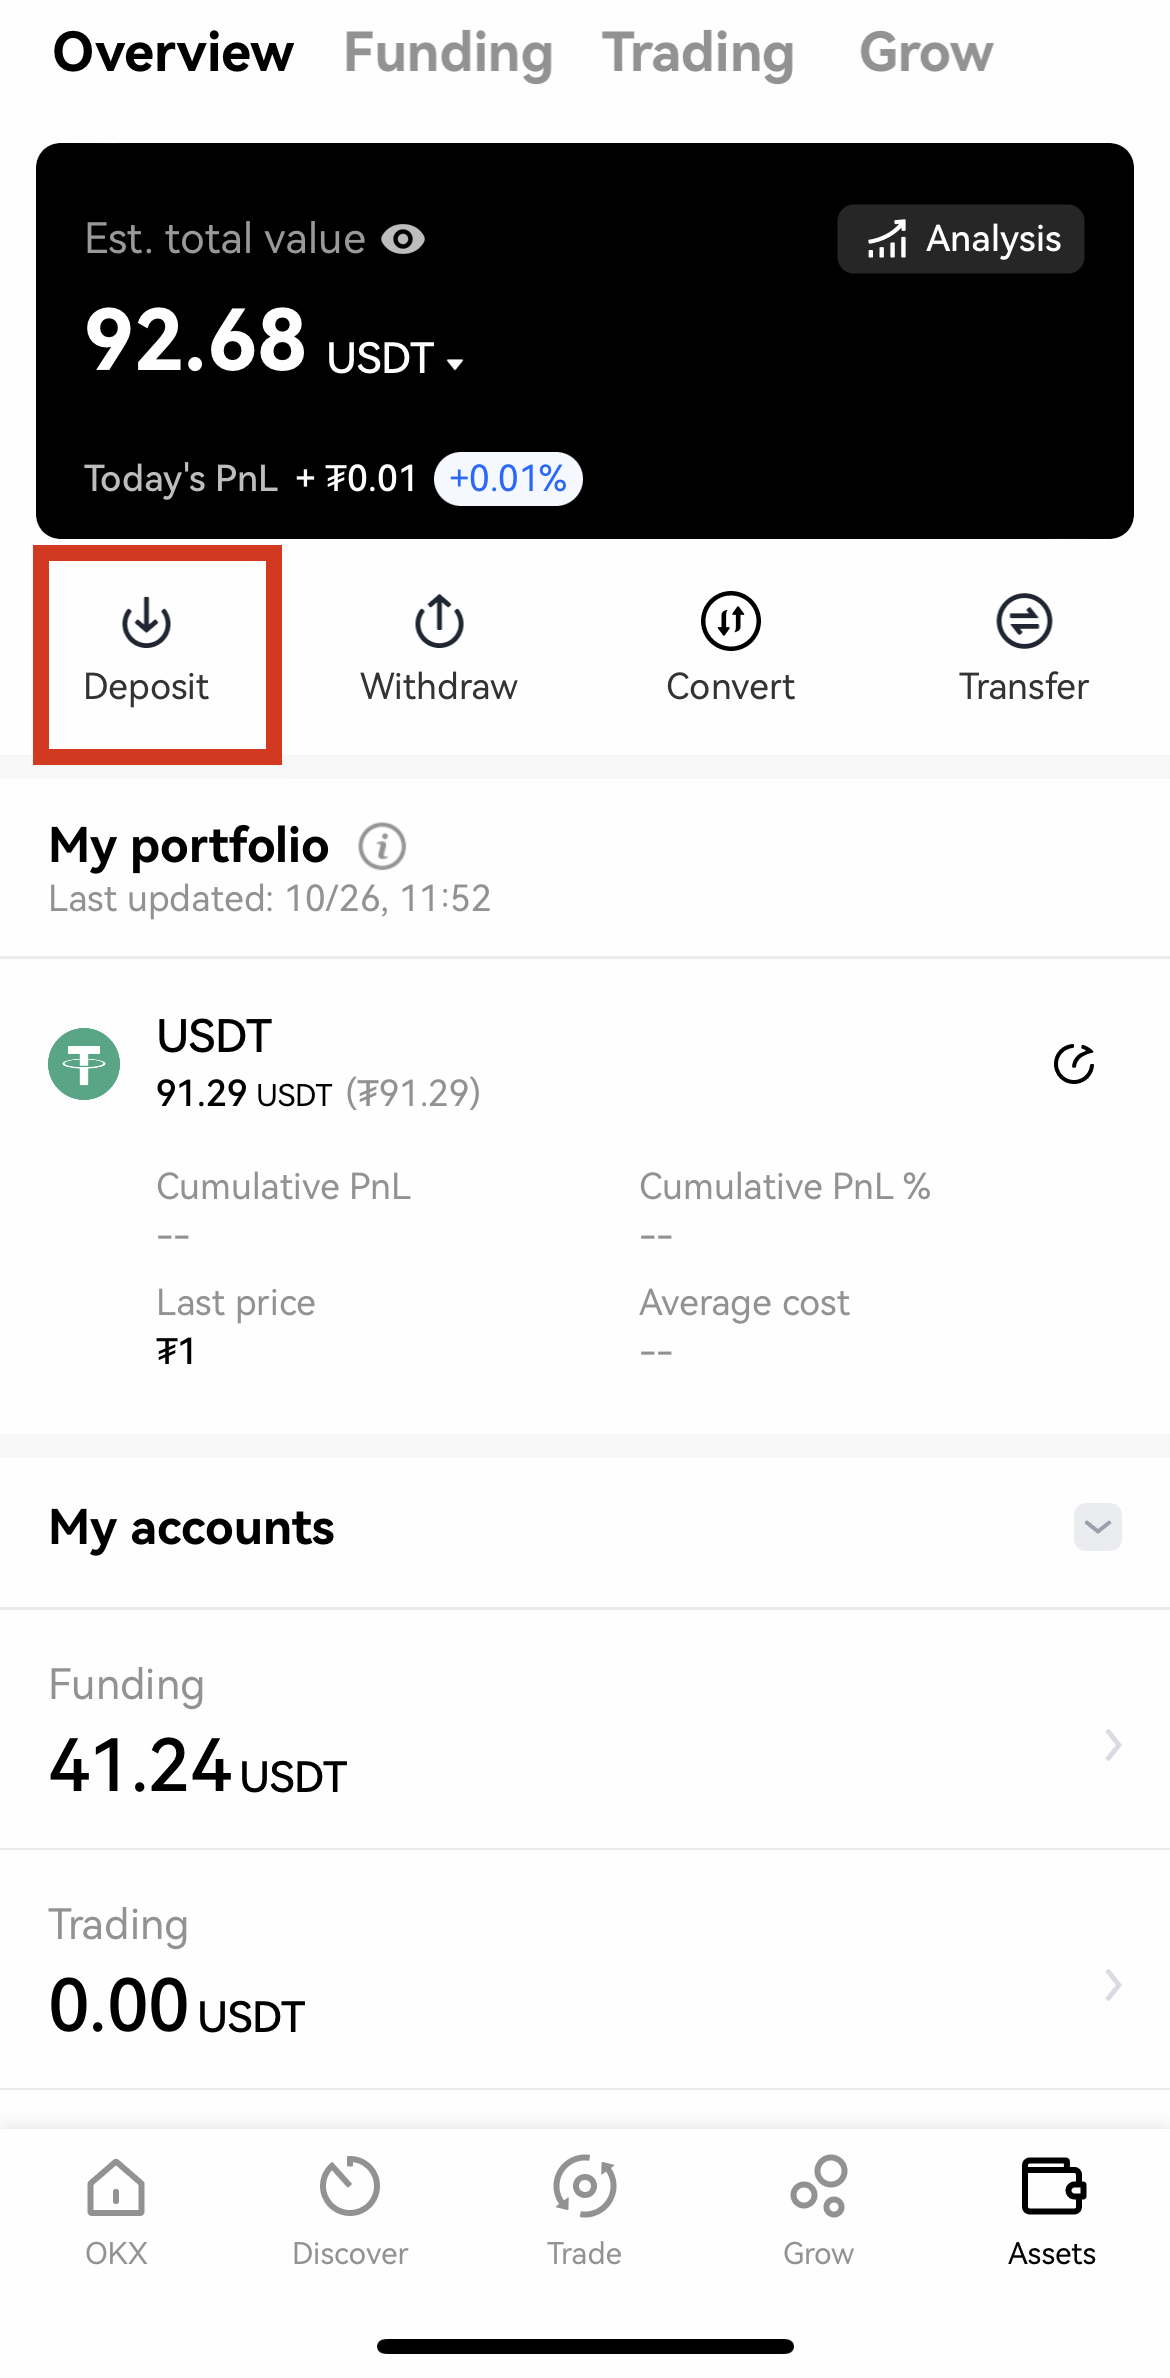
STEP 1Open the OKX app and from "Home" go to "Assets" then select "Deposit".
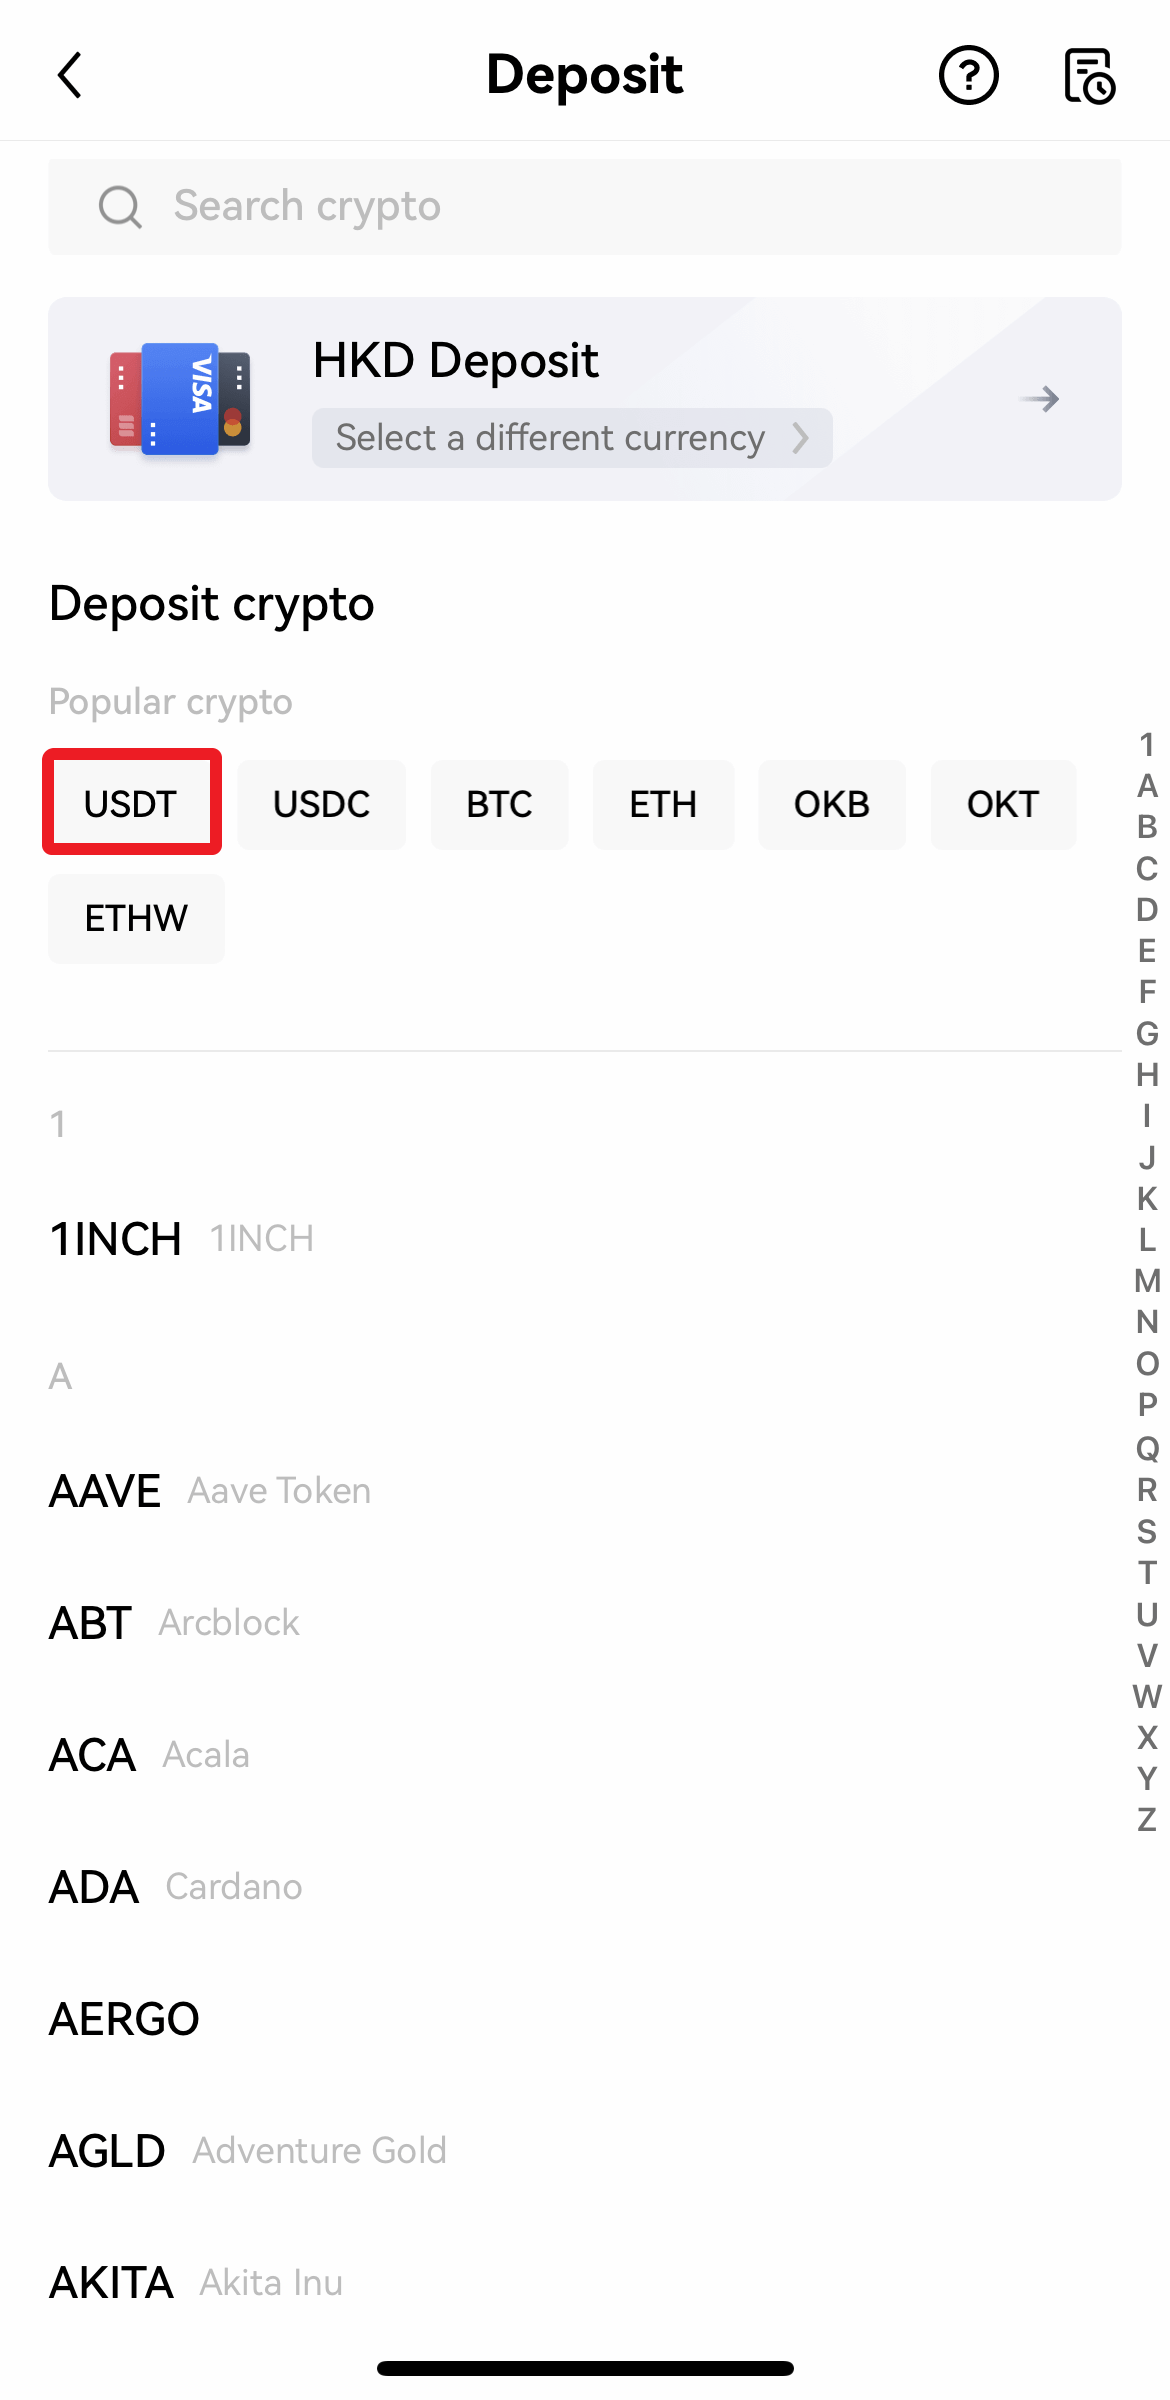
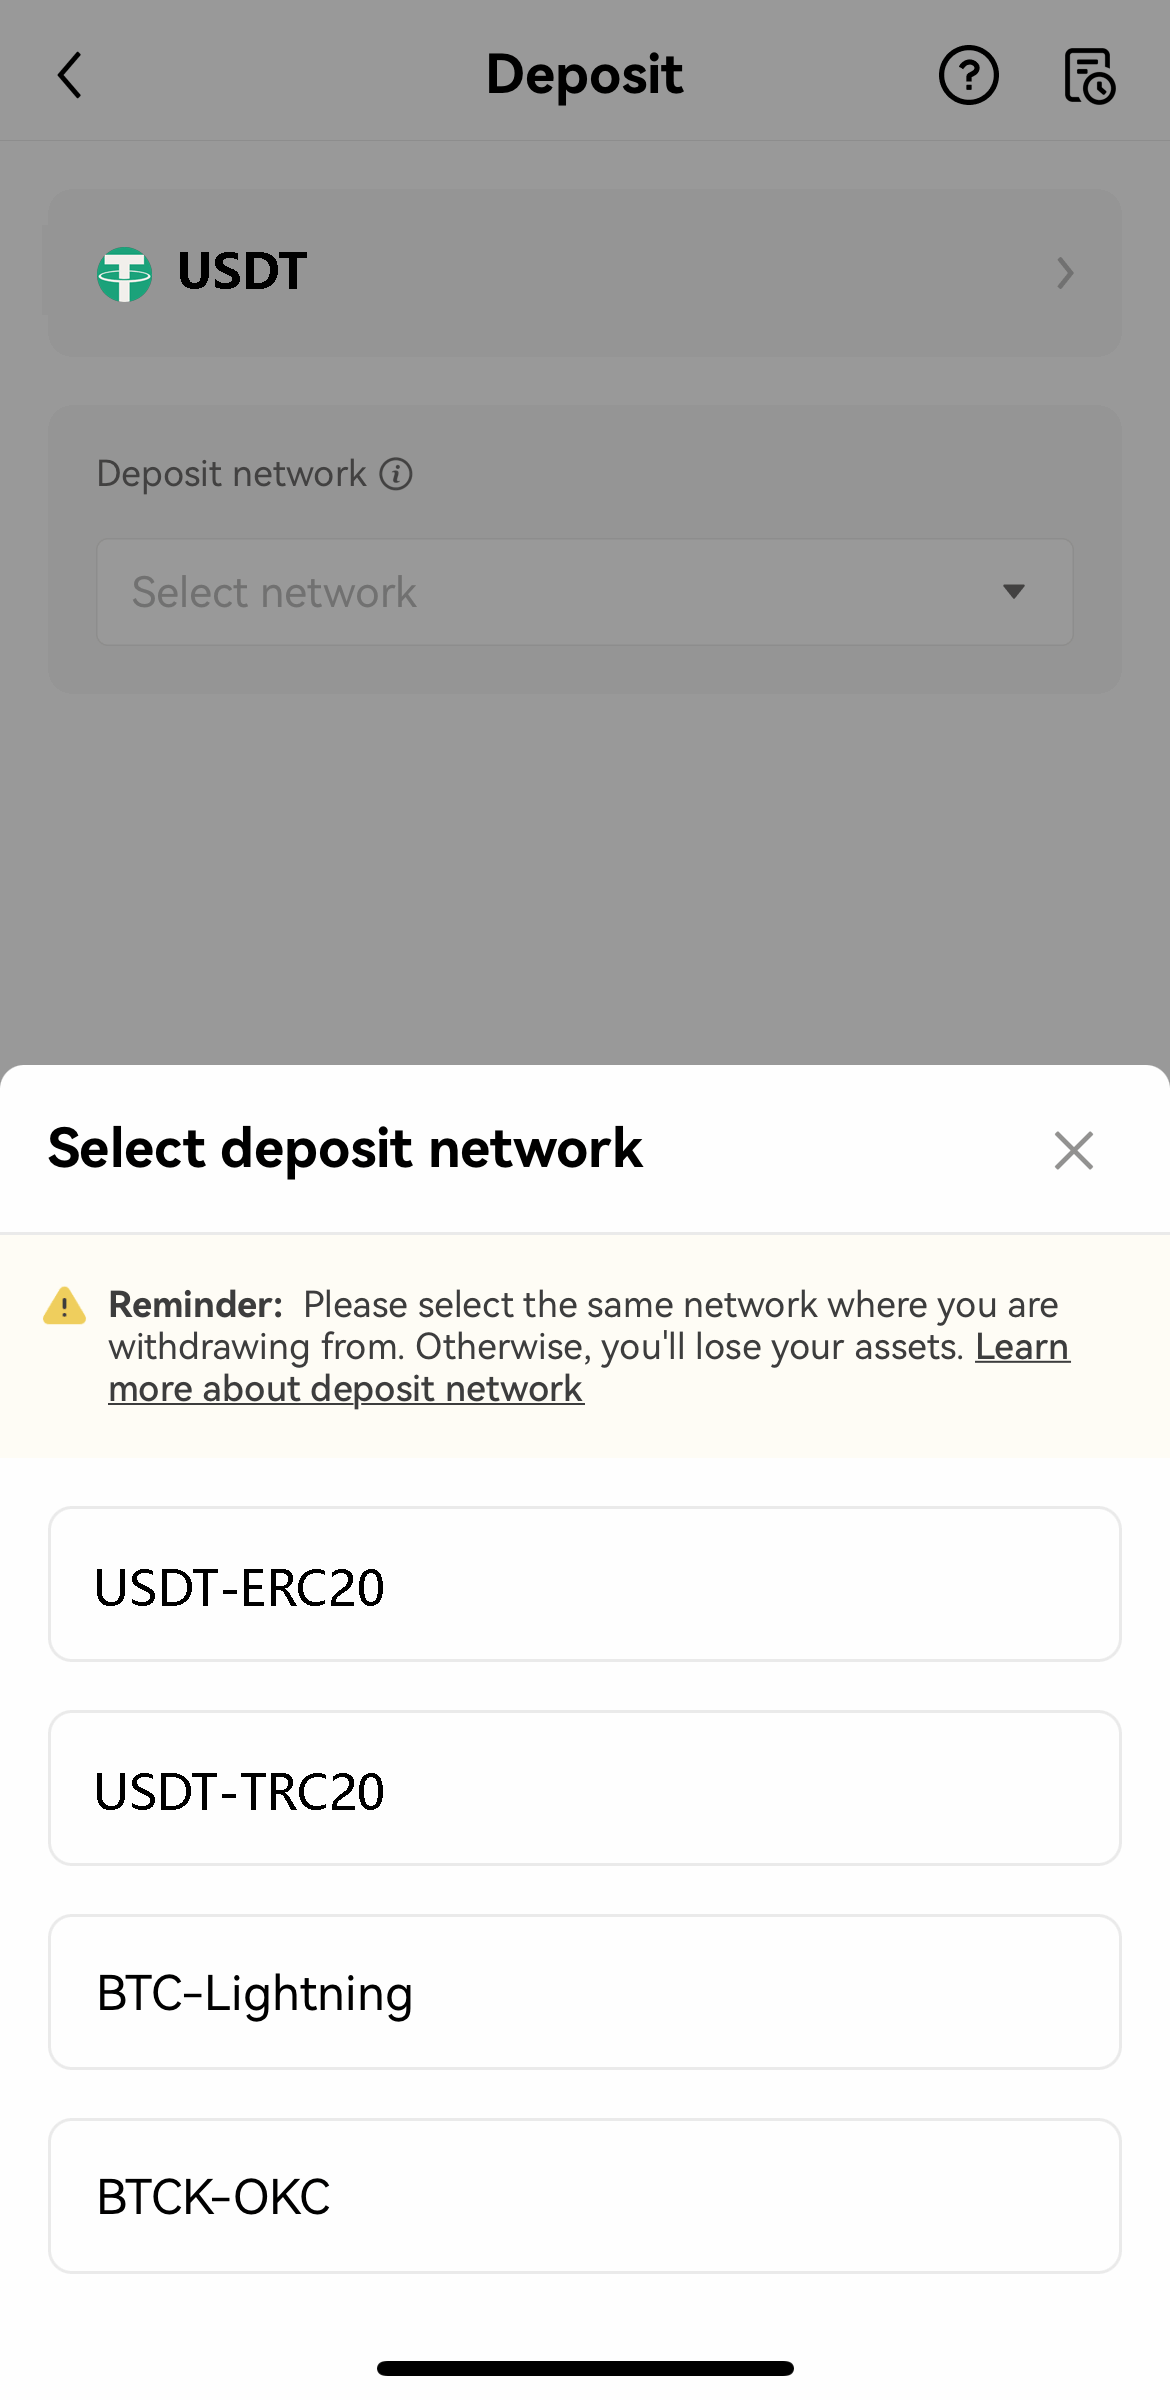
STEP 2Select your preferred crypto and network.
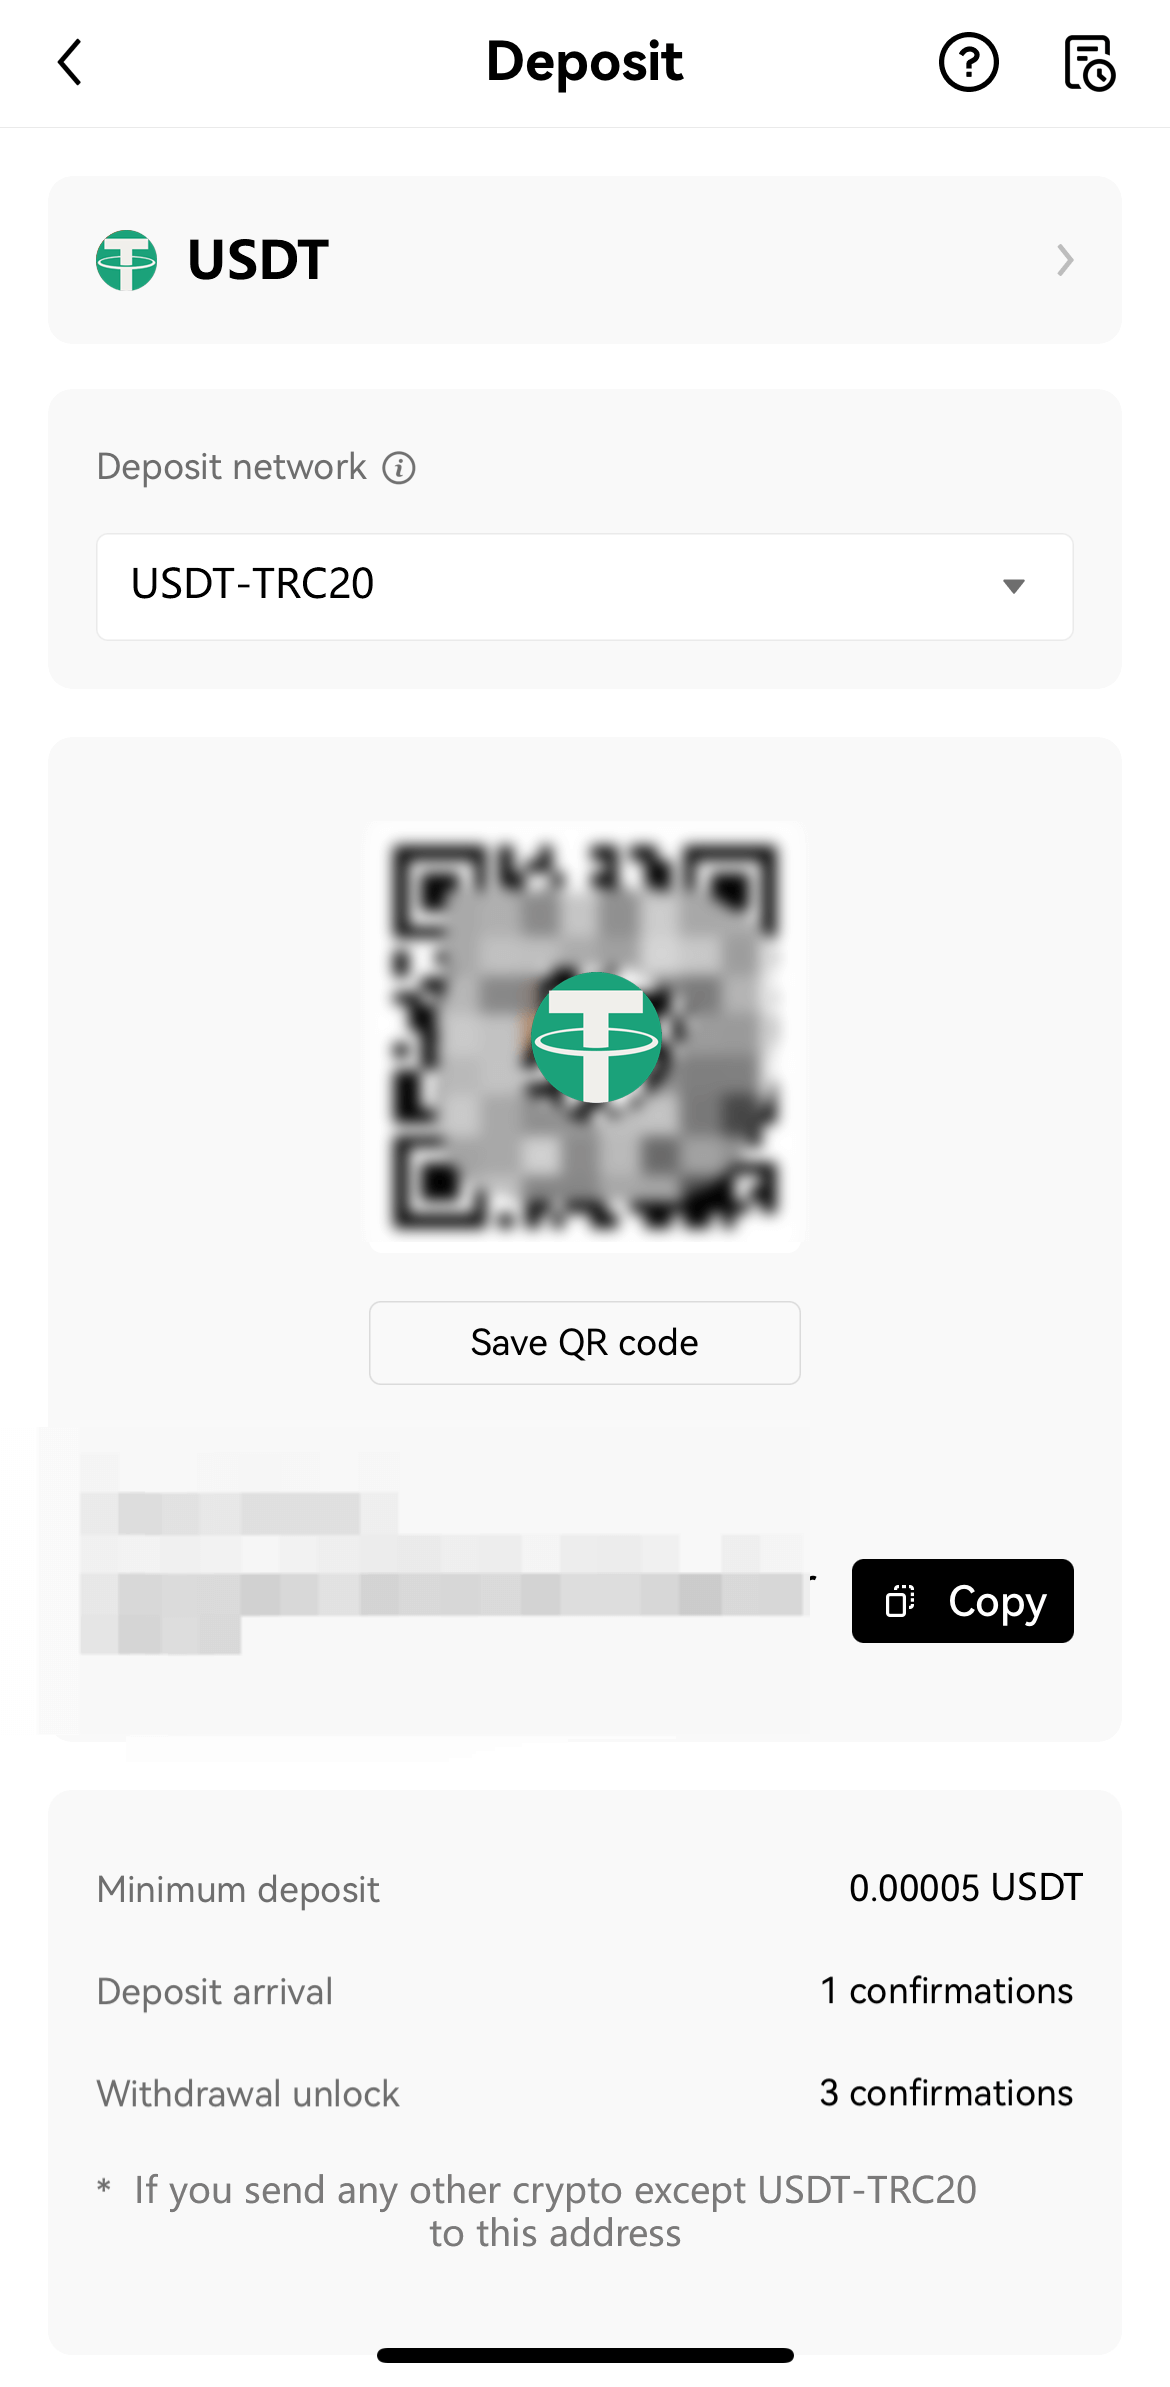
STEP 3An address will then automatically generate, copy this address, or scan the QR code on the withdrawal platform to make the deposit.
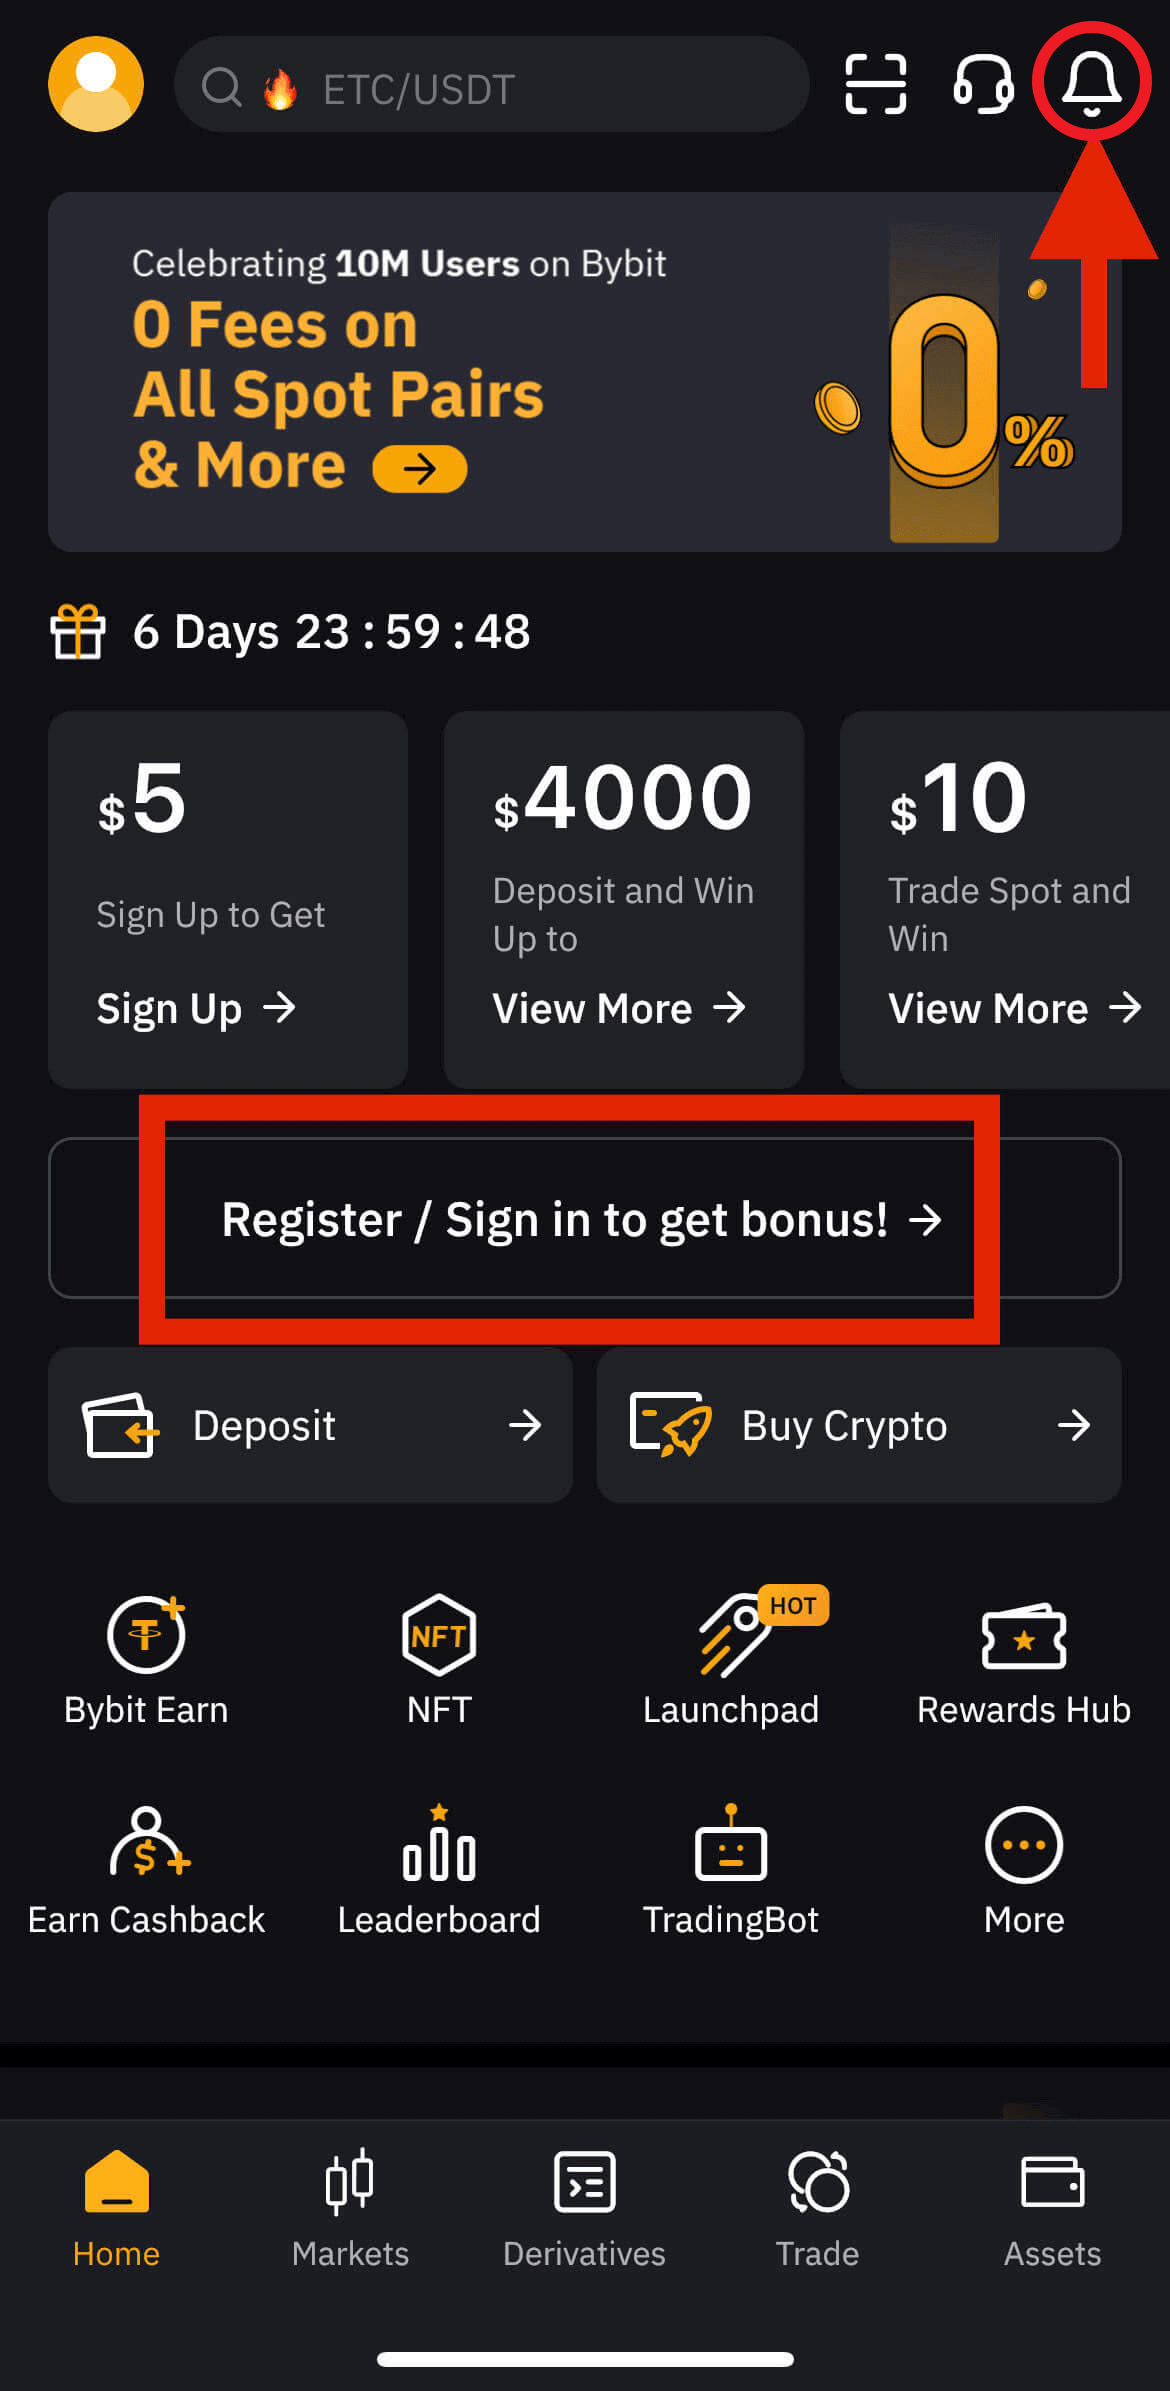
STEP 1licking the bell icon in the upper right corner of the homepage, or clicking the “Register / Sign In to get bonus!” button in the middle of the homepage. Next, please select the registration method. You can sign up using your email address or mobile number.
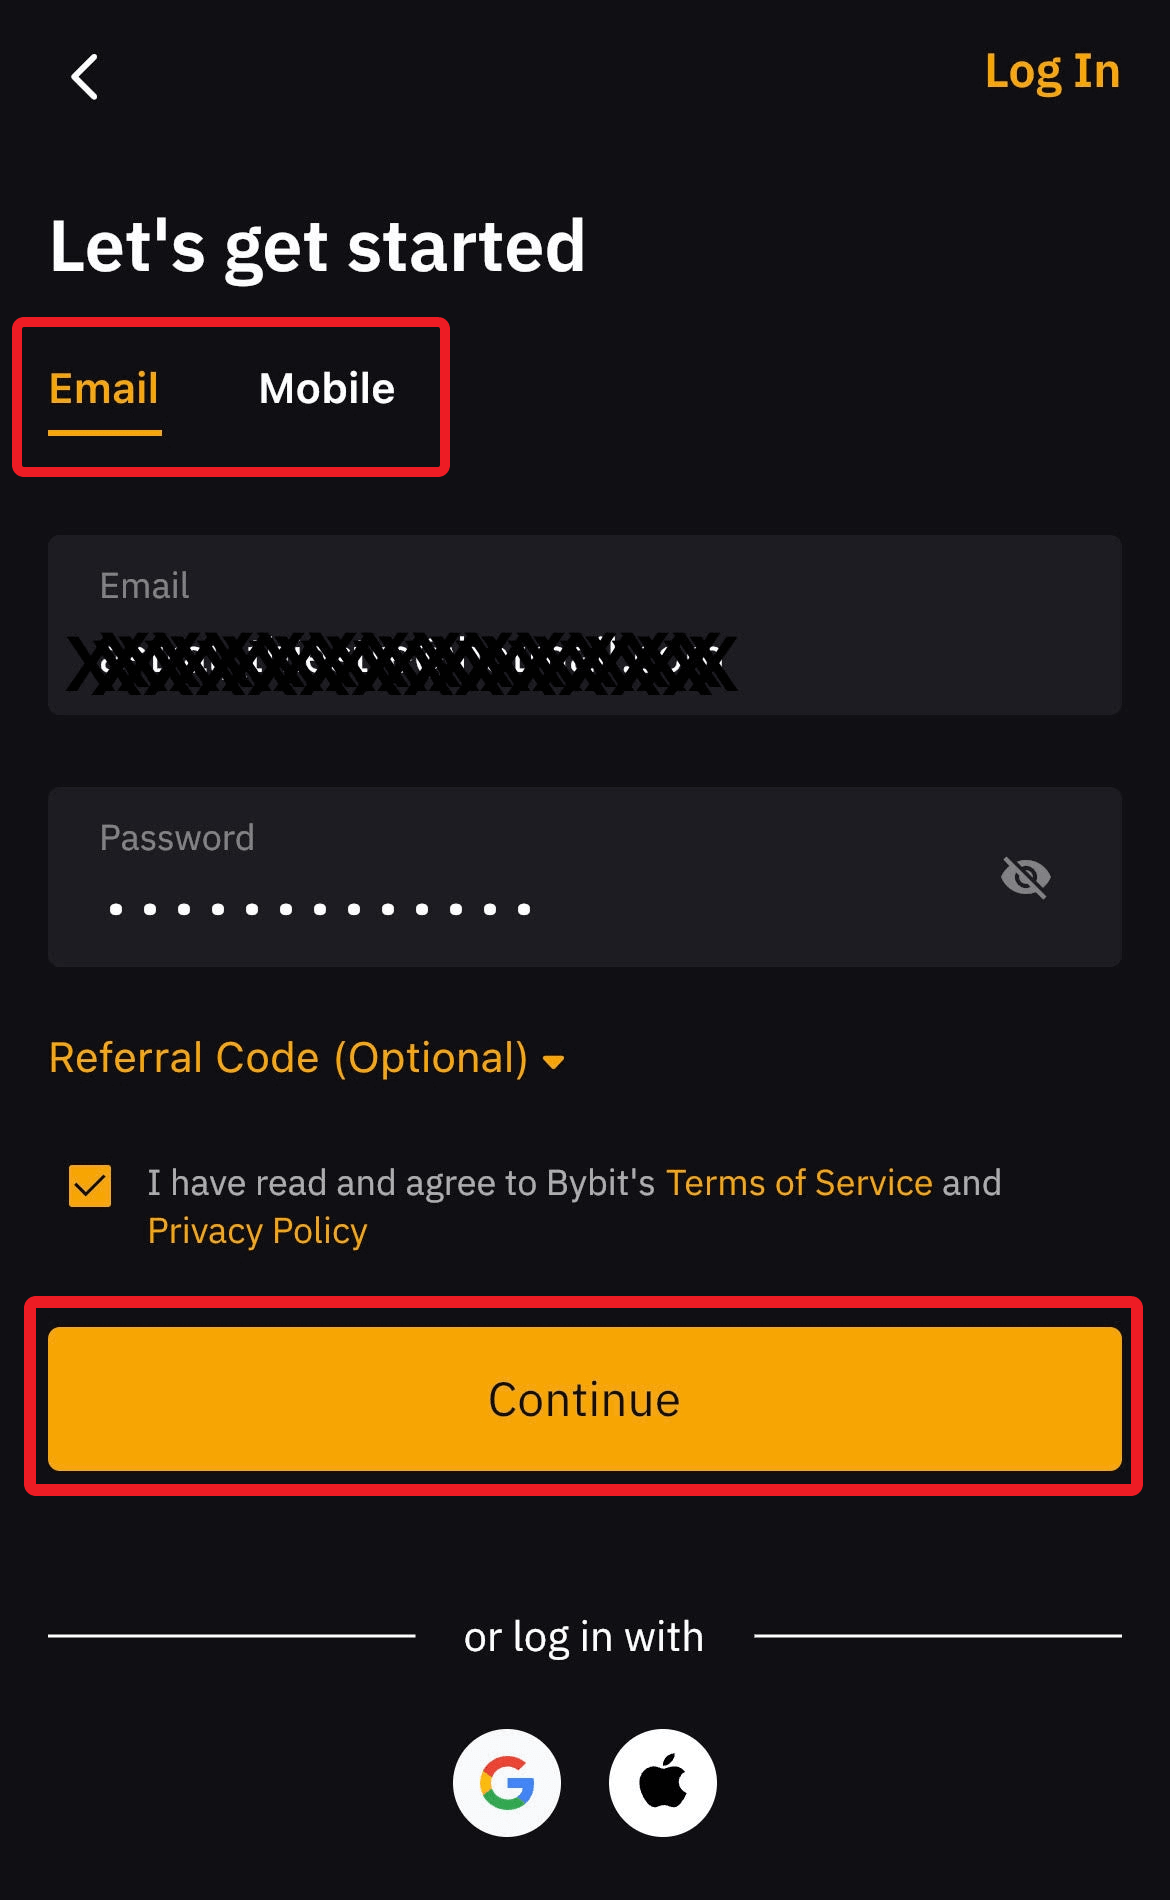
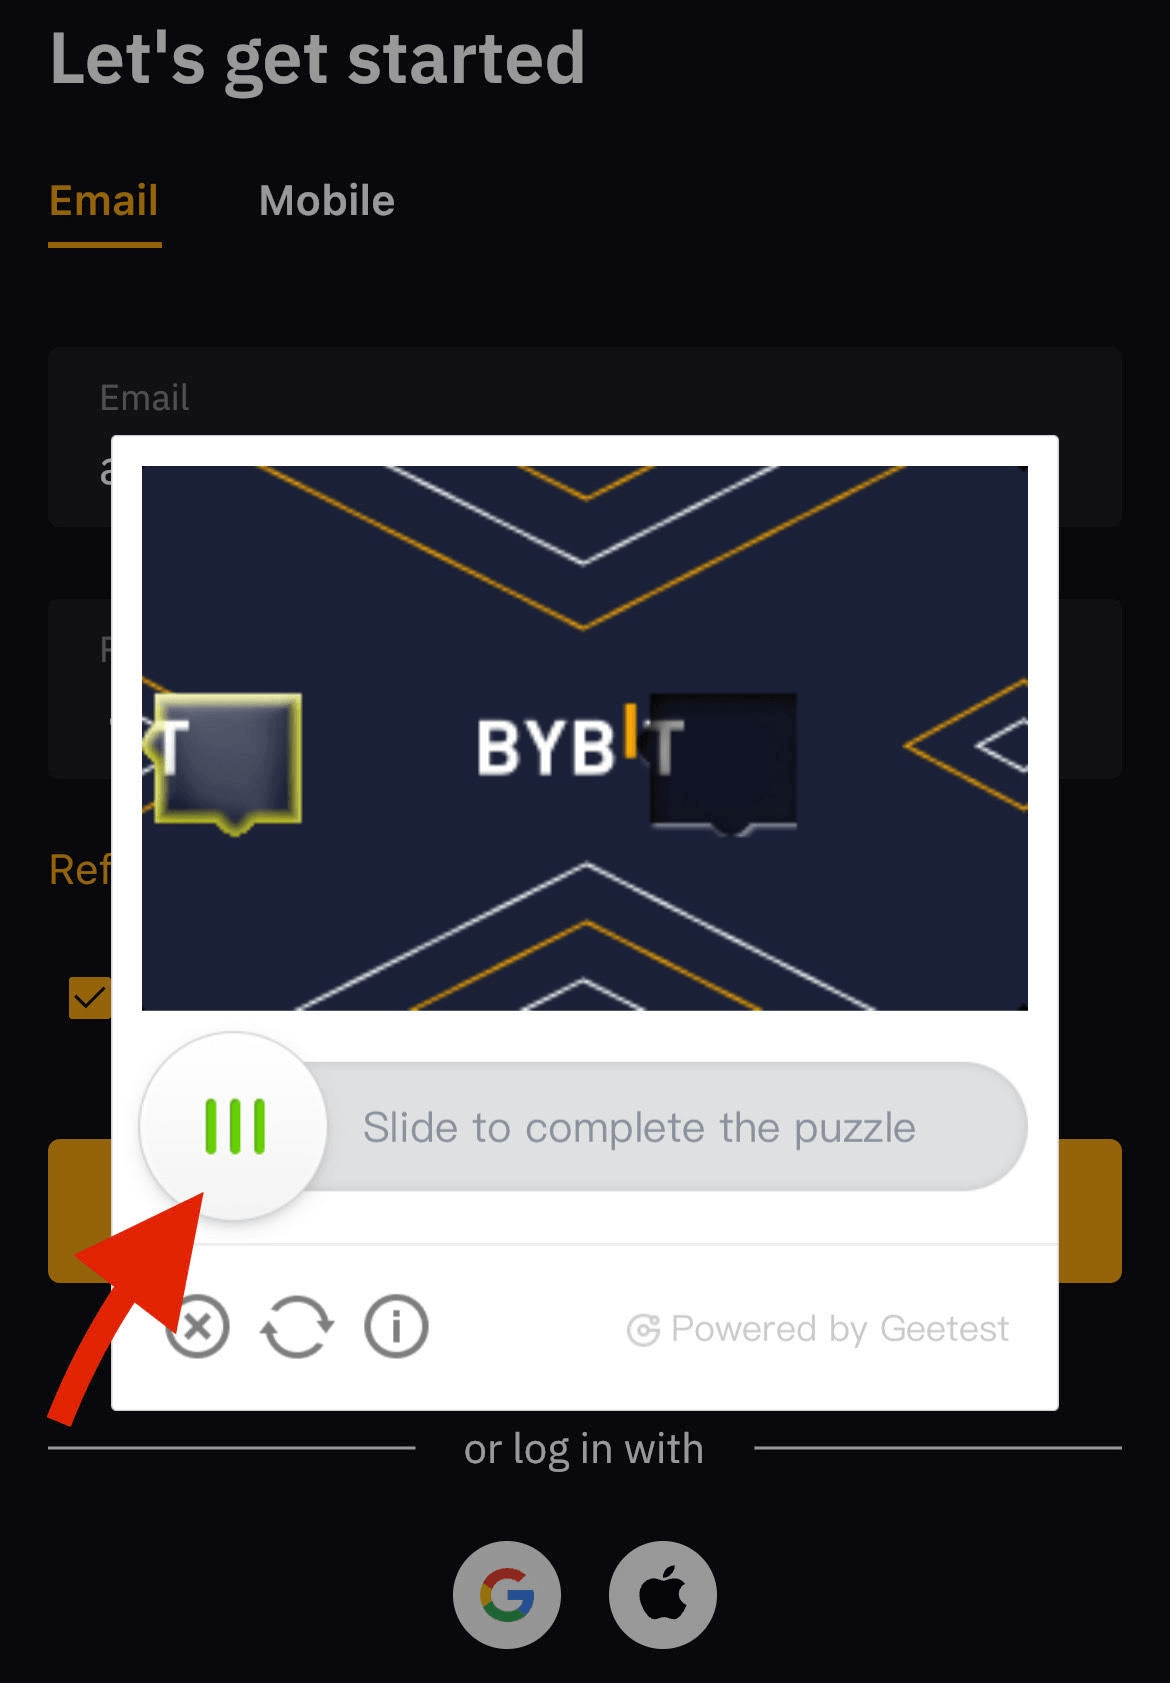
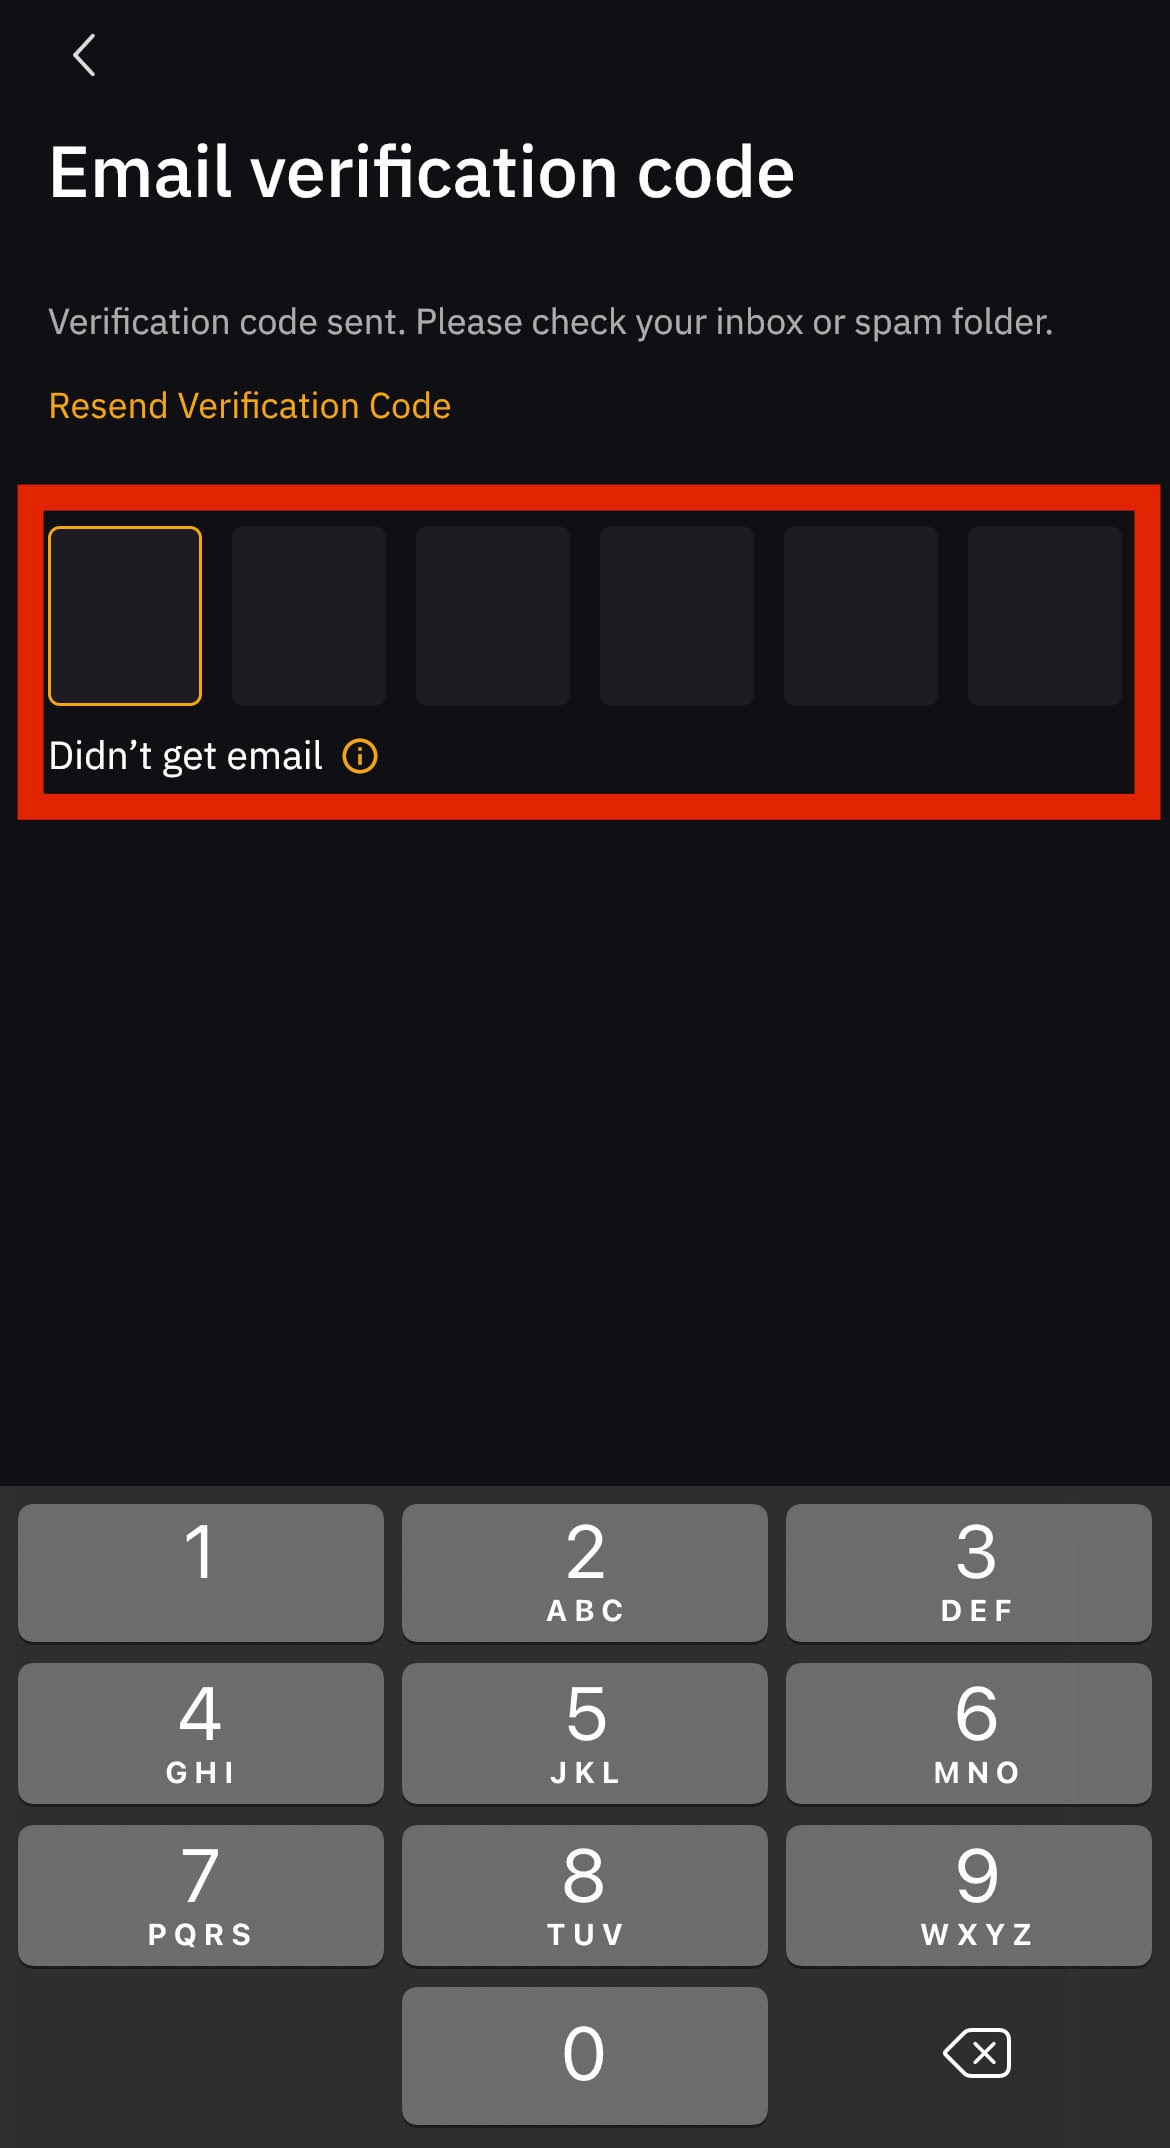
STEP 2A verification page will pop up. Please drag the slider to complete the verification requirements. Lastly, enter the verification code sent to your email inbox.
STEP 1Let’s move on to the section of personal data. Next, go to the Identity Verification section.
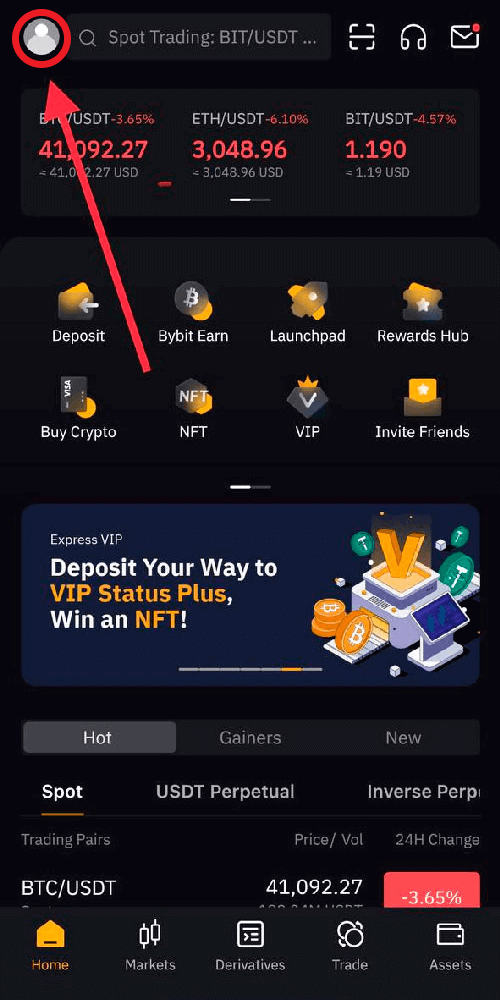
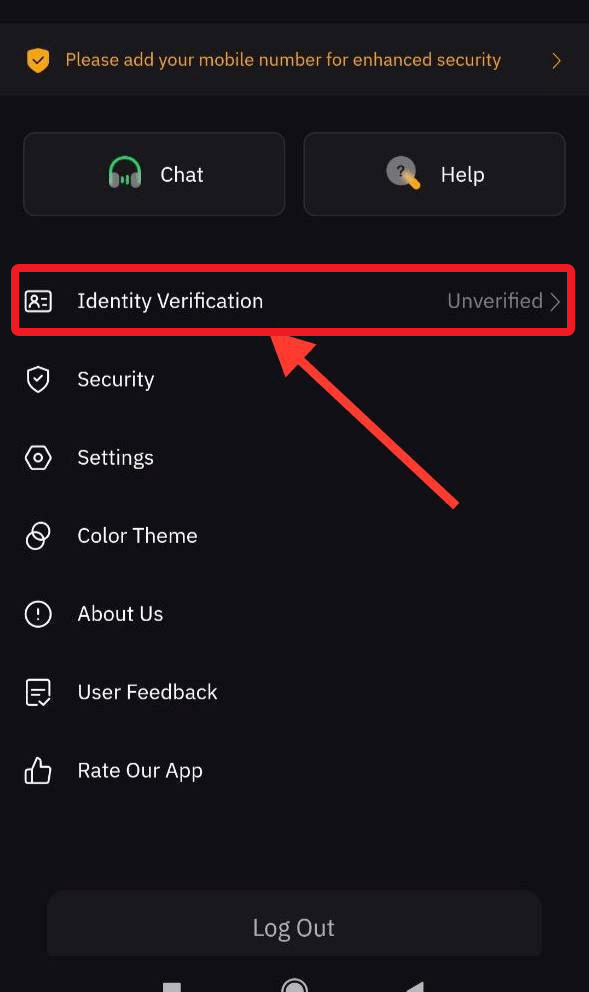
STEP 2Click the “Verify Now” button. Study the rules of uploading documents.
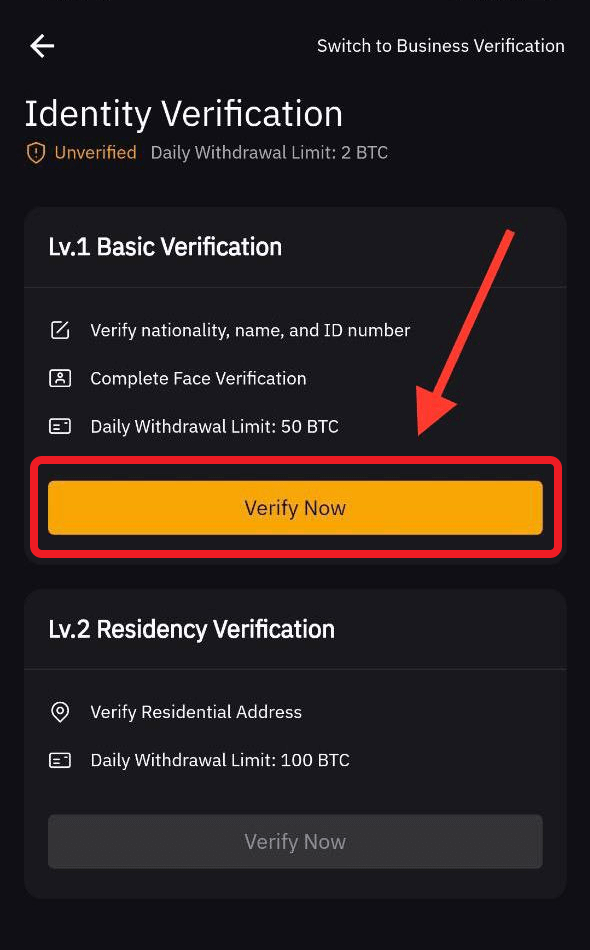
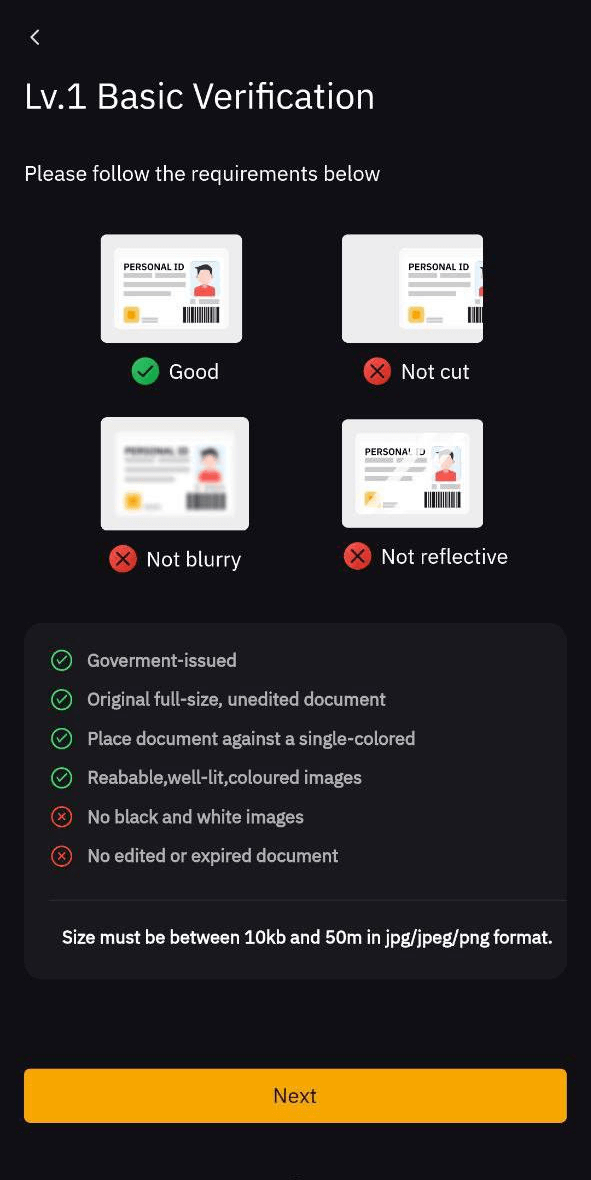
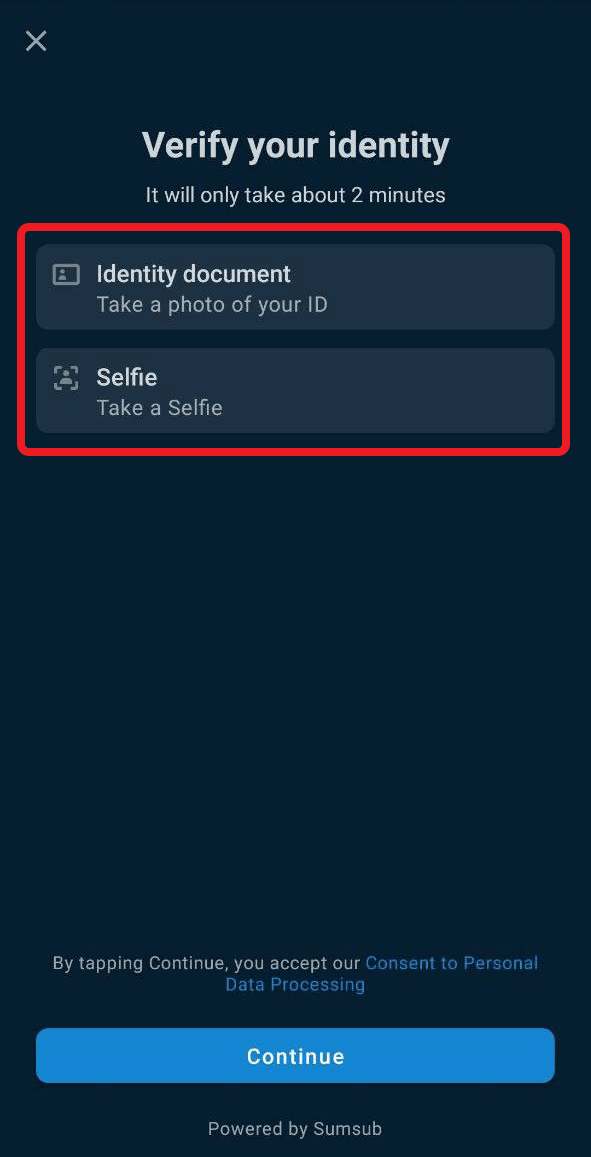
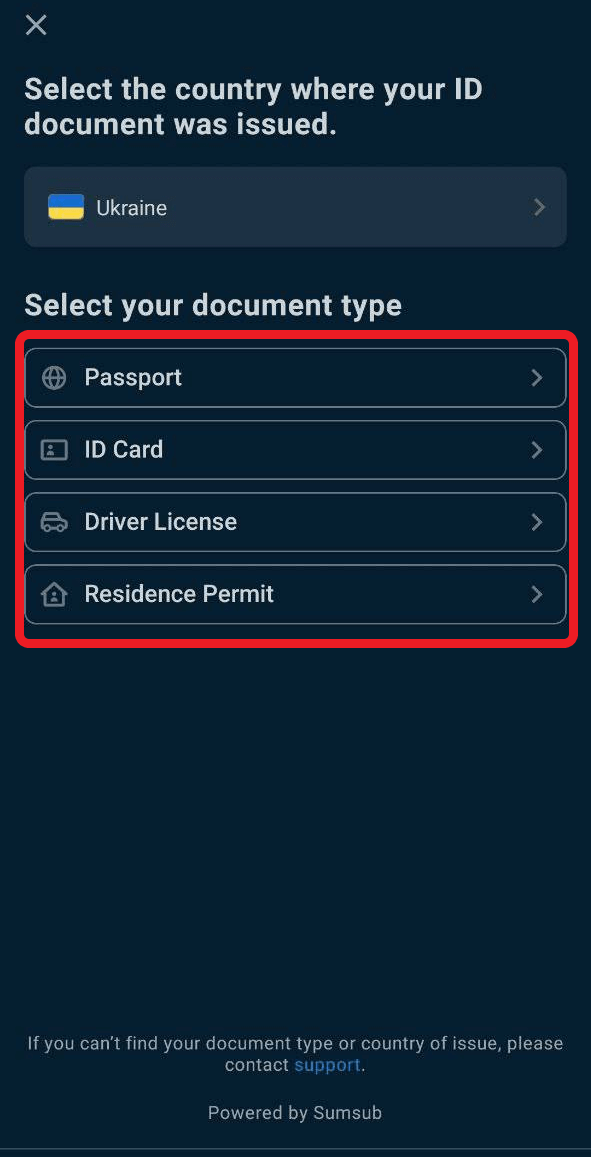
STEP 3To verify, you need to upload photos of documents and selfies that confirm your identity. Click “Continue”. On the next page, select the type of documents you want to upload. After uploading, take a selfie and wait for verification. That's all, in the near future the system will verify your account.
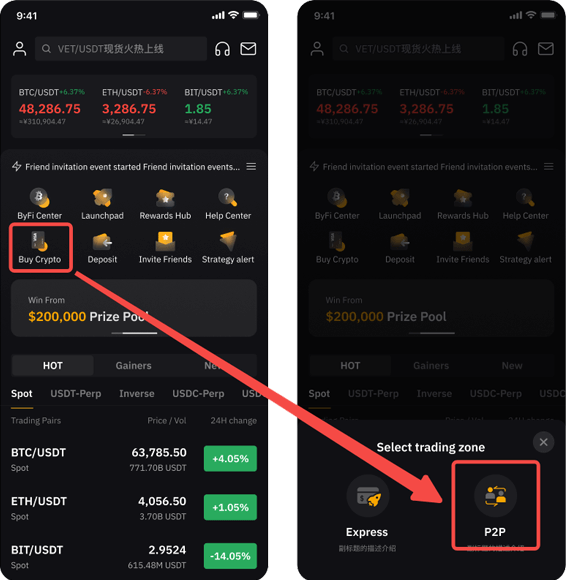
STEP 1Please click on “Buy Crypto” --> “P2P” on the home page.
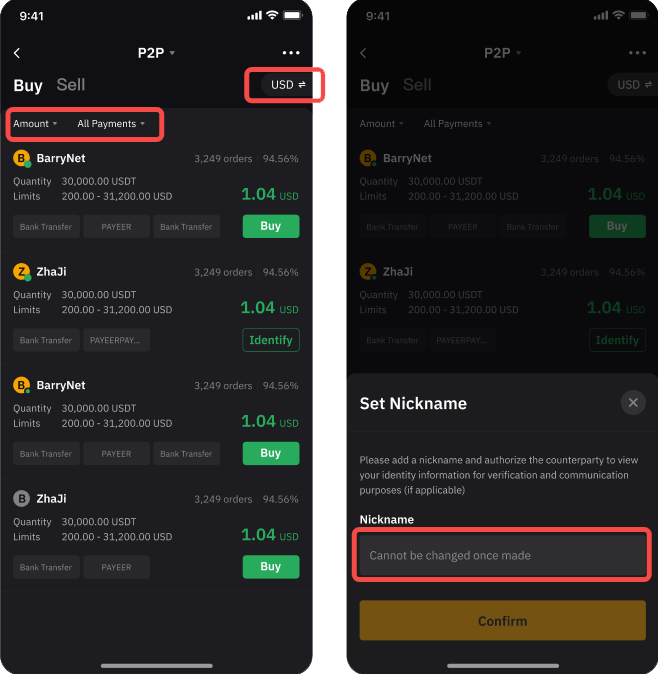
STEP 2On the Buy page, you can filter for your preferred advertisers by filling in the Amount, Fiat Currencies or Payment Methods fields based on your transaction needs. You’ll need to create a nickname if this is your first time using P2P.
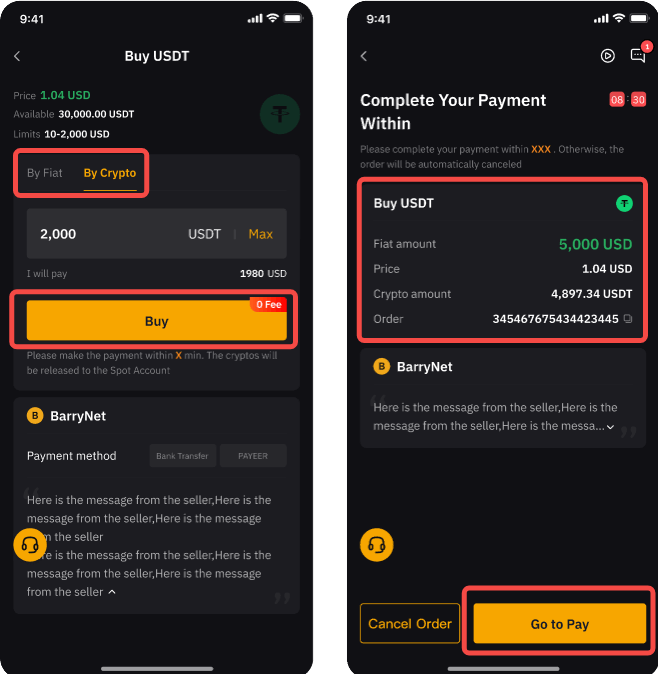
STEP 3Choose your preferred advertisement, then click on “Buy”. Enter the amount of fiat you want to pay, or the amount of coins you want to receive and click on Buy to proceed.
You’ll be redirected to the order page, where you will have 15 minutes to transfer the money to the seller's bank account. Click on “Go to Pay” to proceed with your payment once you have confirmed that all the order details are correct.
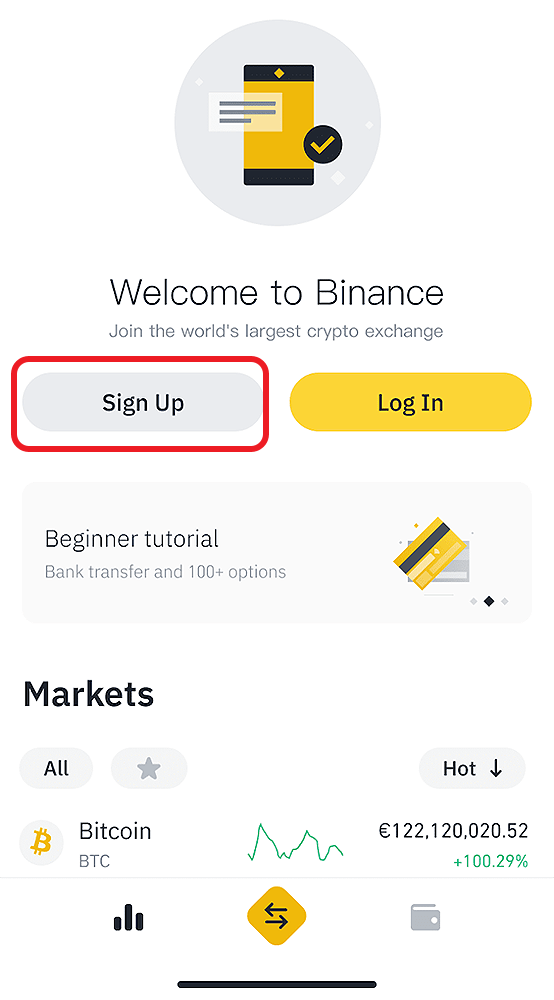
STEP 1Open the Binance App and tap [Sign Up]. Select a registration method. You can sign up with your email address, phone number and Apple or Google account.
If you want to create an entity account, tap [Sign up for an entity account]. Please select the type of account carefully. Once registered, you cannot change the account type. Please refer to the “Entity Account” tab for a detailed step-by-step guide.
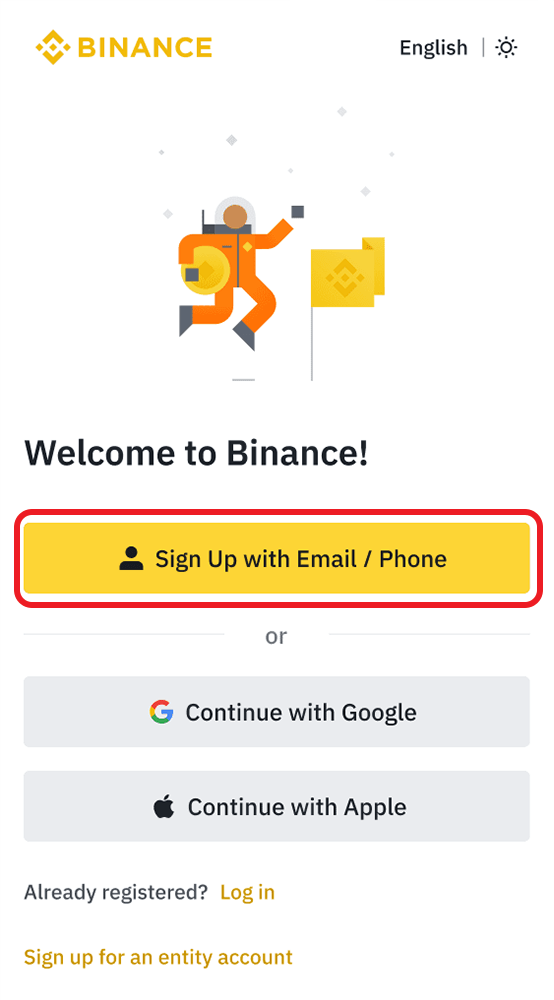
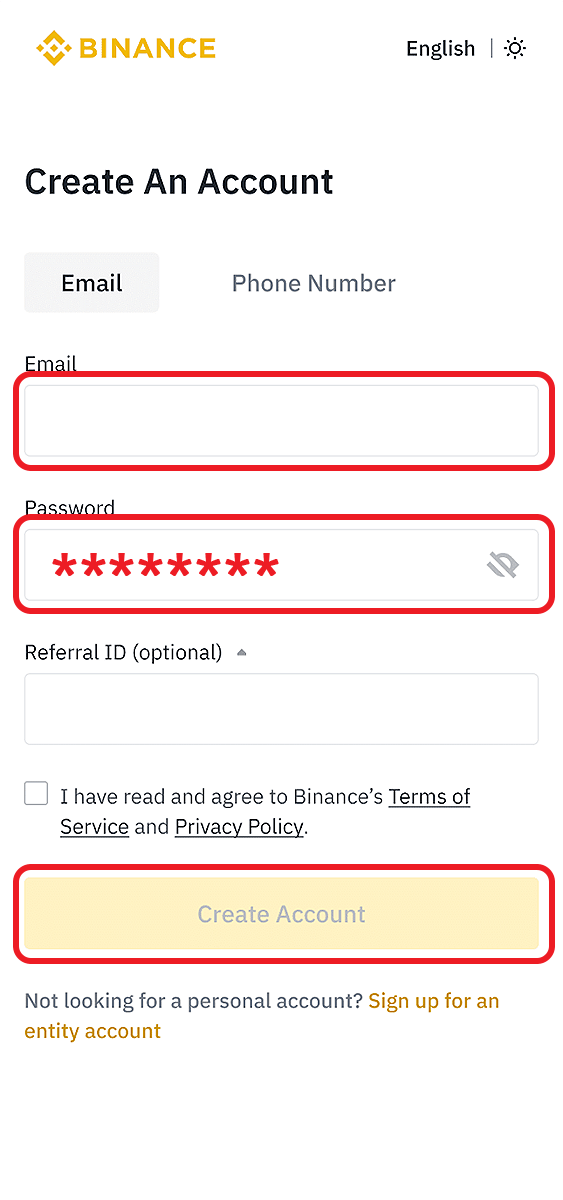
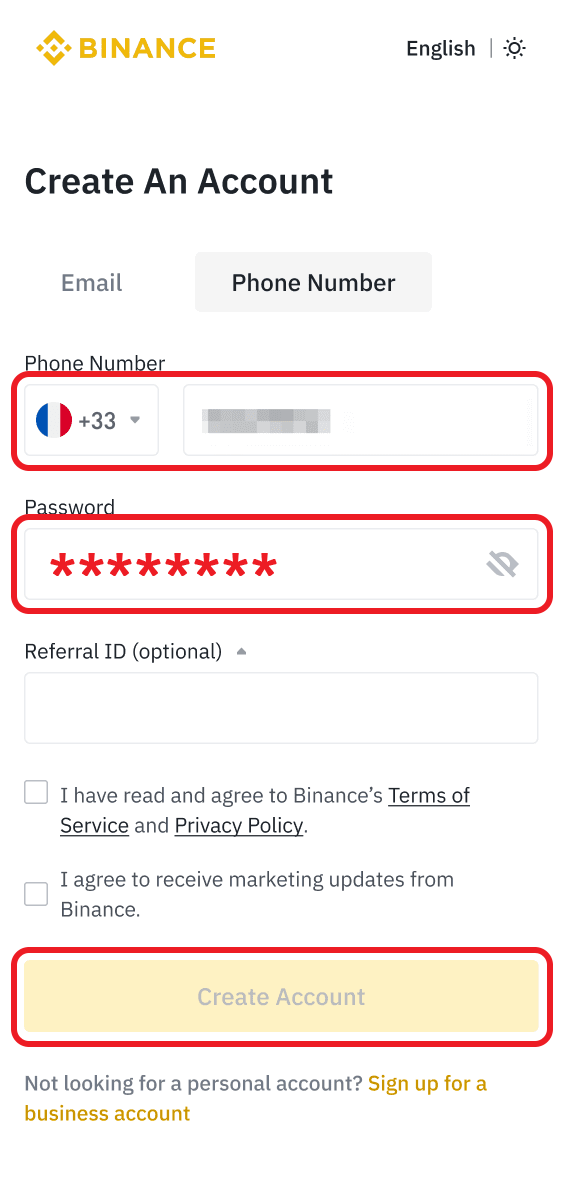
STEP 2Select [Email] or [Phone Number] and enter your email address/phone number. Then, create a secure password for your account.
Note: Your password must contain at least 8 characters, including one uppercase letter and one number. If you’ve been referred to register on Binance by a friend, make sure to fill in their Referral ID (optional). Read and agree to the Terms of Service and Privacy Policy, then tap [Create Account].
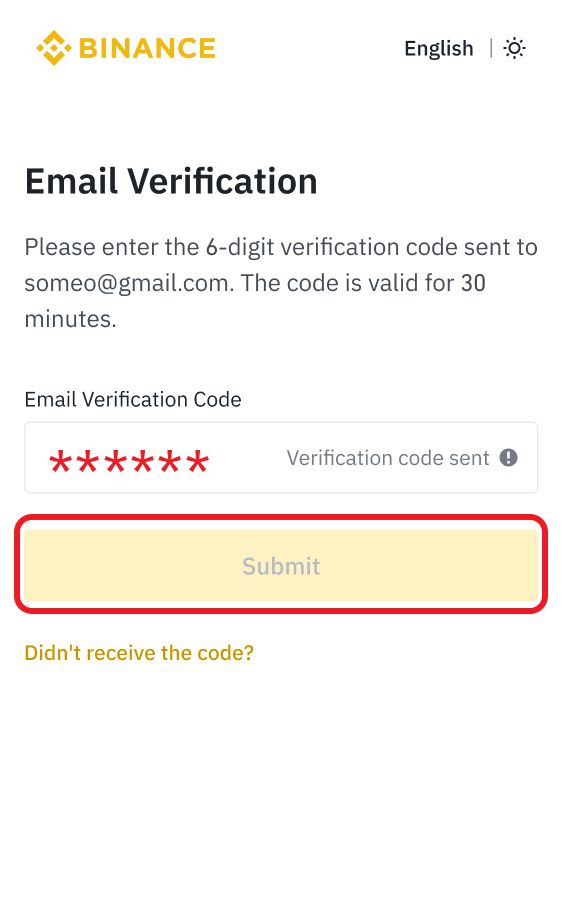
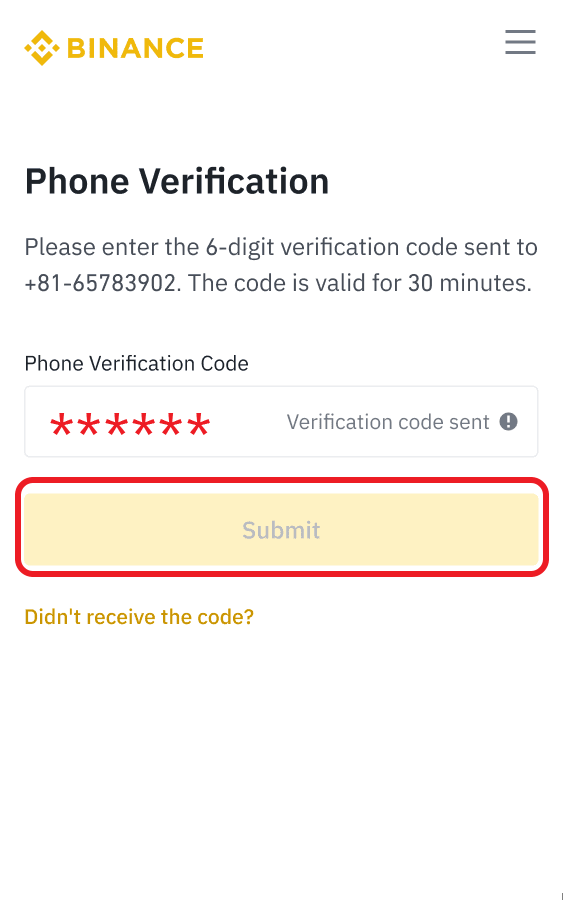
STEP 2You will receive a 6-digit verification code in your email or phone. Enter the code within 30 minutes and tap [Submit].
Congratulations! You have successfully created a Binance account.
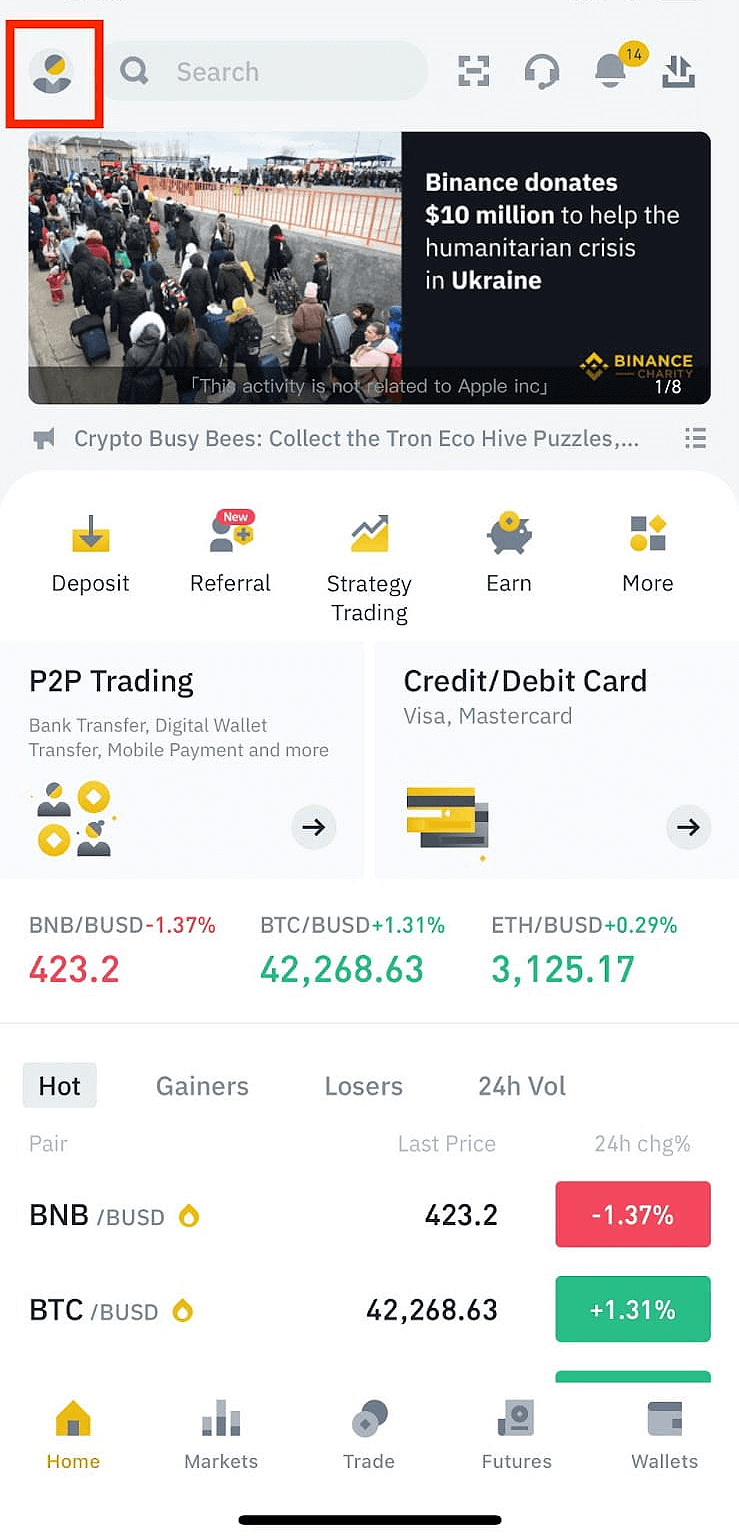
STEP 1Log in to your Binance account and tap [User Center] - [Unverified].
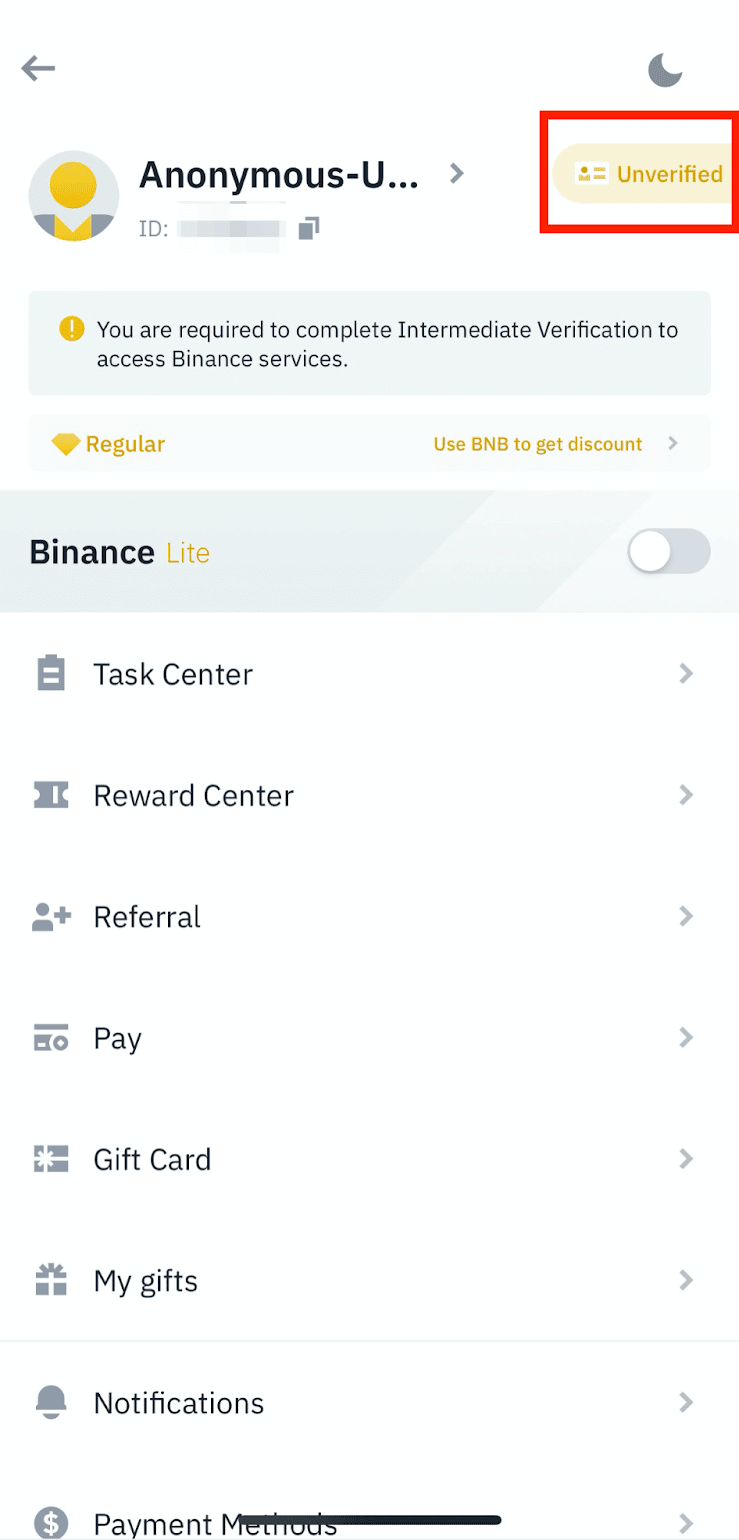
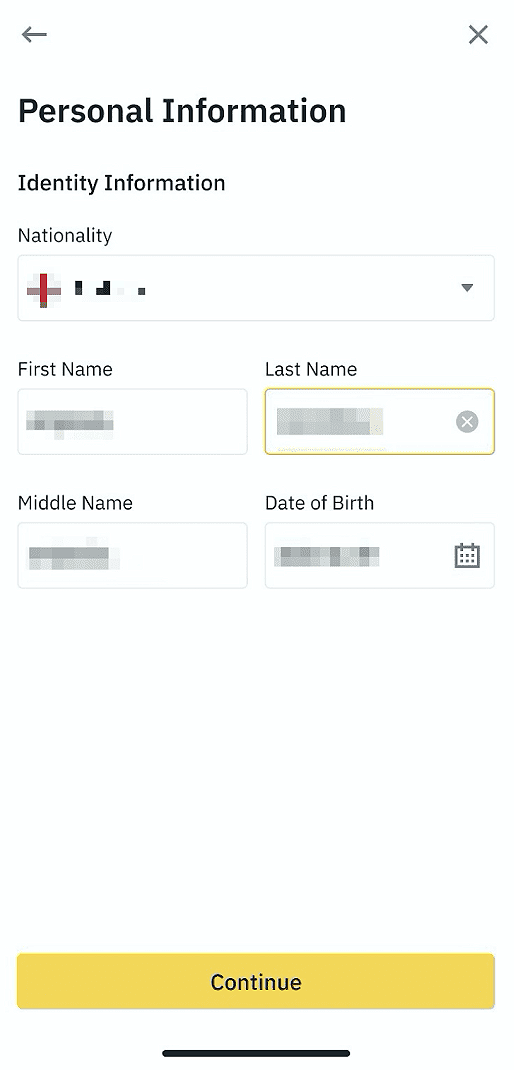
STEP 2You will see the list of verification requirements for your specific country/region & tap [Continue] then Enter your personal information and tap [Continue].
Next, you will need to upload pictures of your ID documents. Follow the instructions to take photos of your document. Your photos should clearly show the full ID document.
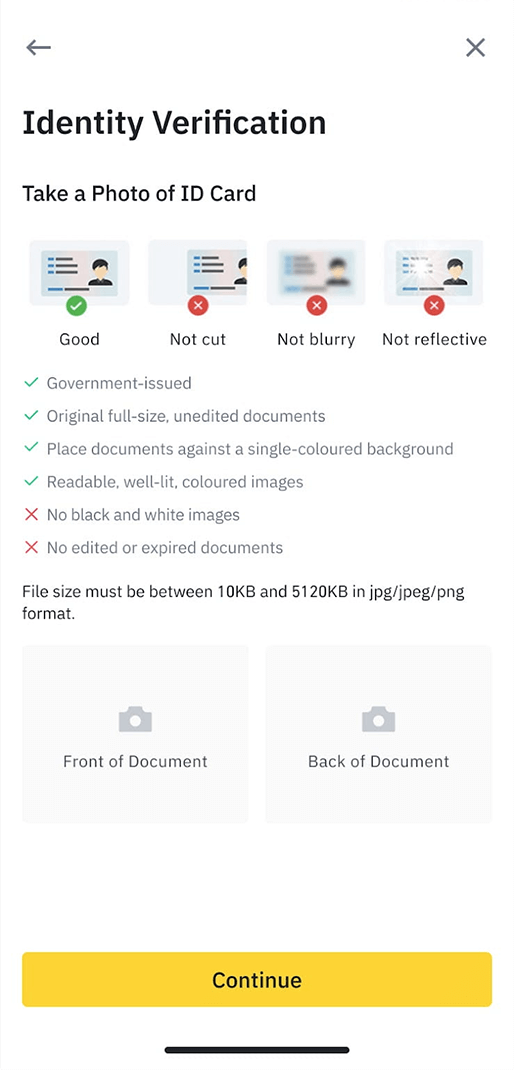
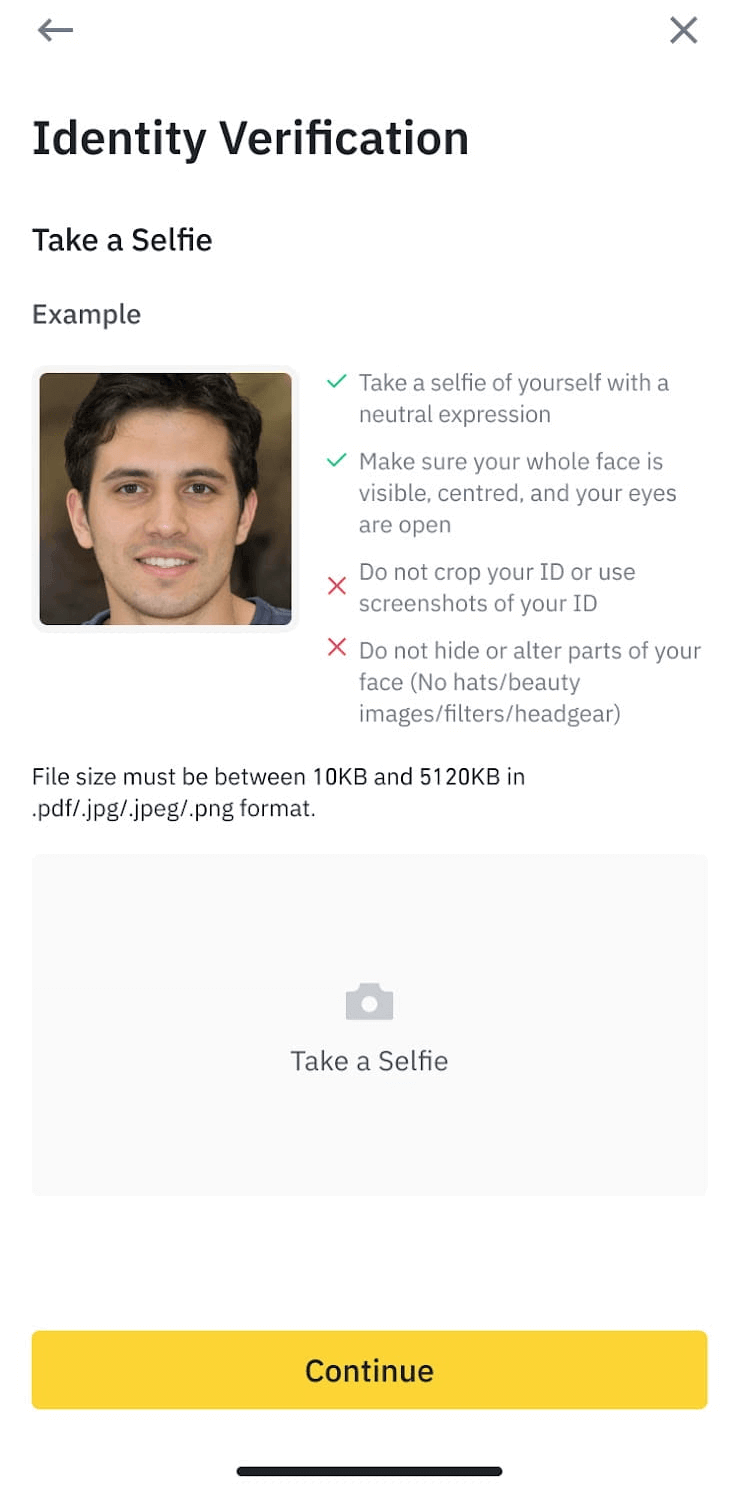
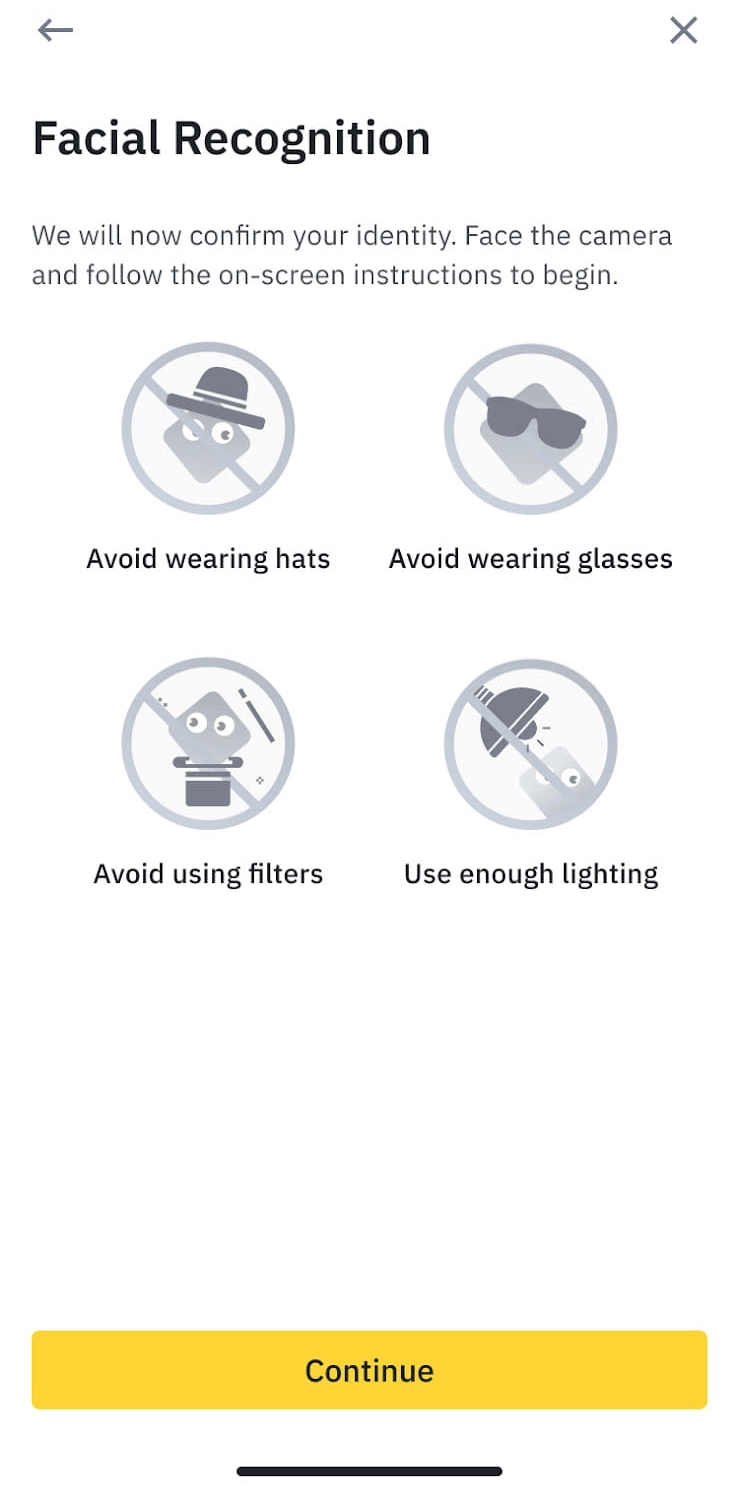
STEP 3Follow the instructions and put your ID document in front of the camera. Tap [Take a Photo] to capture the front and back of your ID document. Please make sure all the details are clearly visible. After uploading the document photos, the system will ask for a selfie. Tap [Take a selfie].
Please do not wear hats, glasses, or use filters, and make sure that the lighting is sufficient. And aslo do not refresh or quit the App during the process.
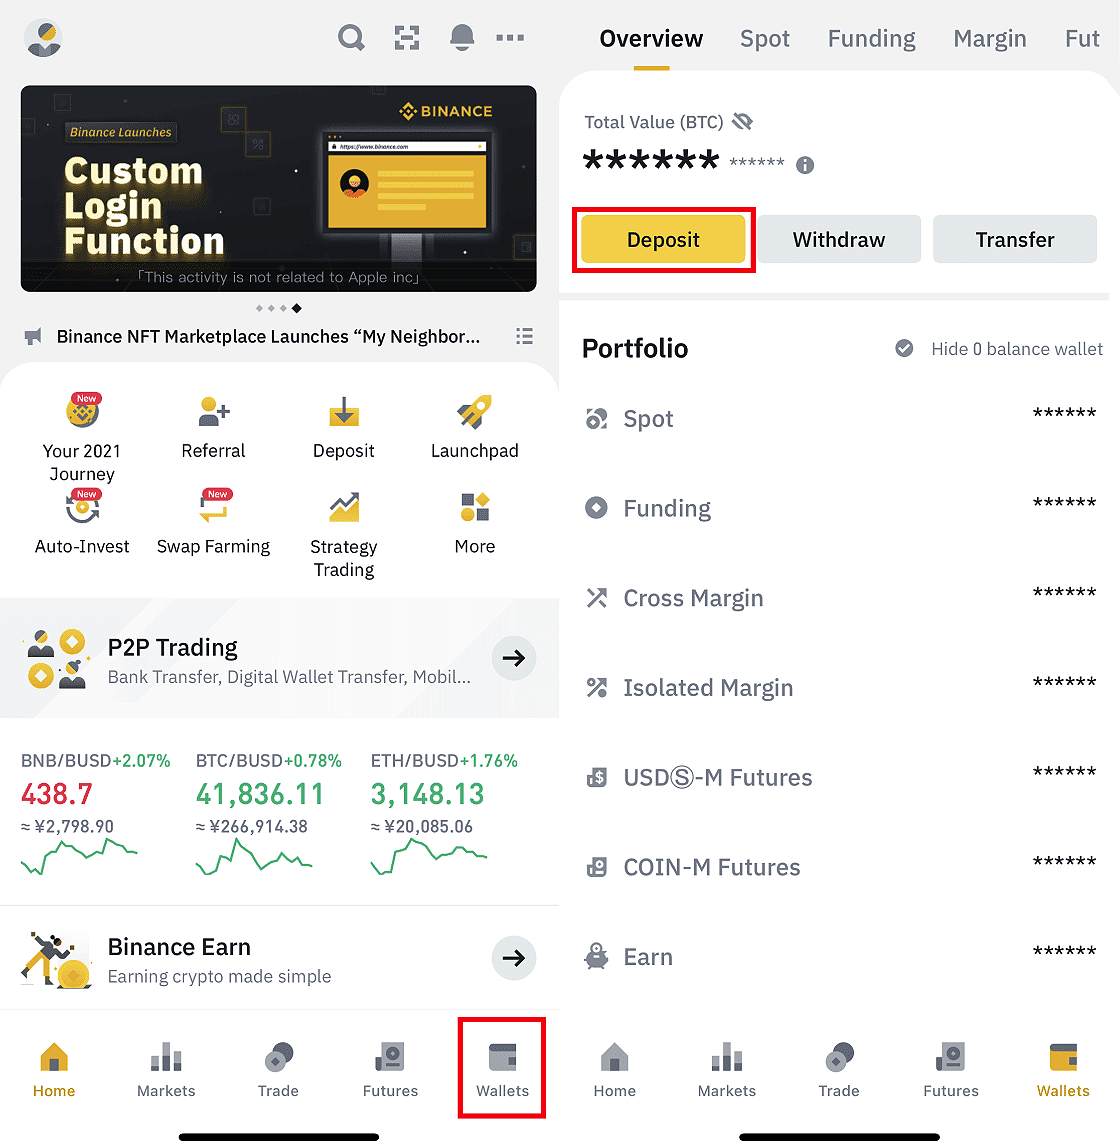
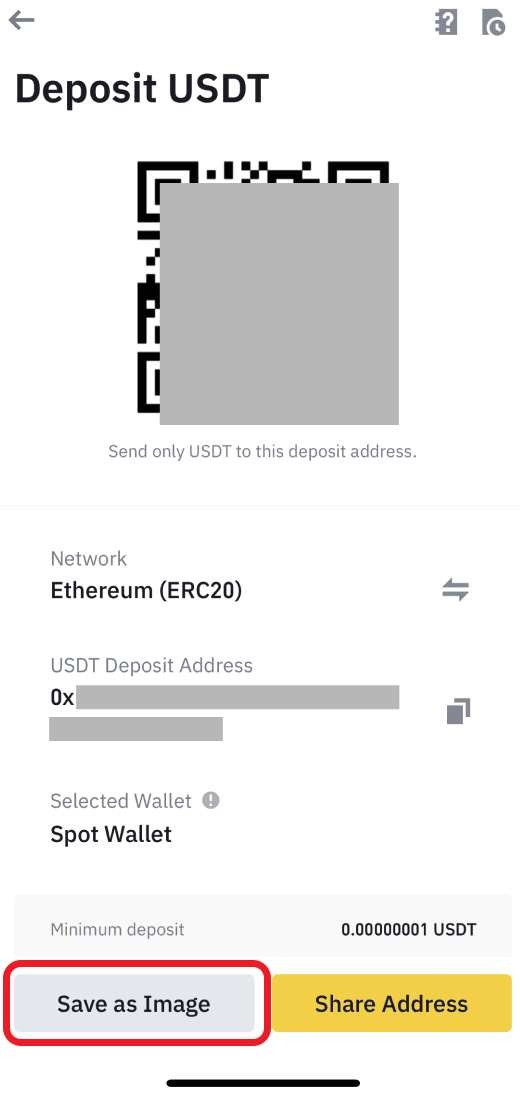
STEP 1Open your Binance App and tap [Wallets] - [Deposit].
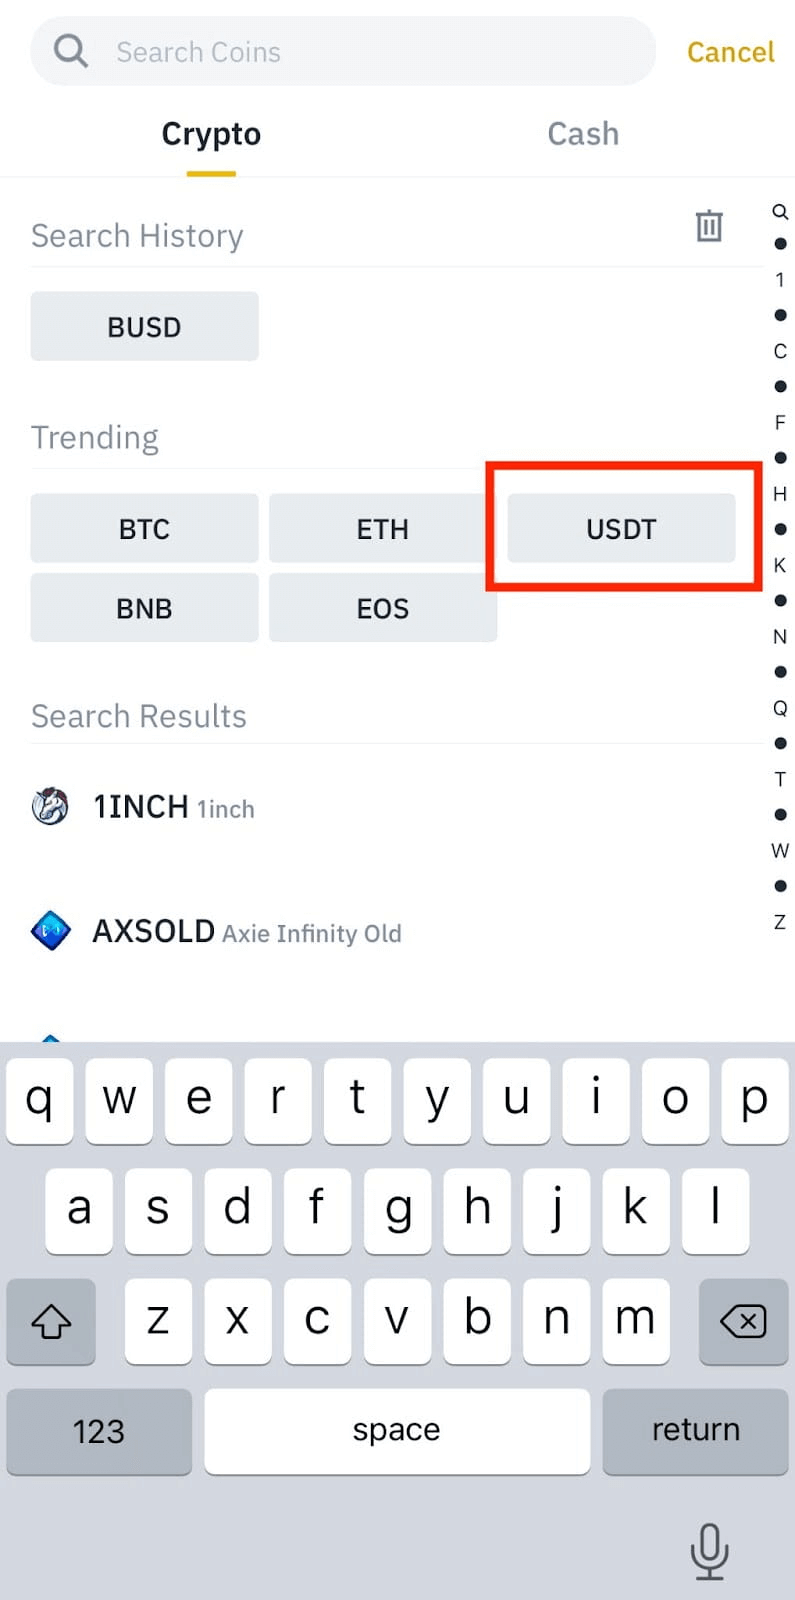
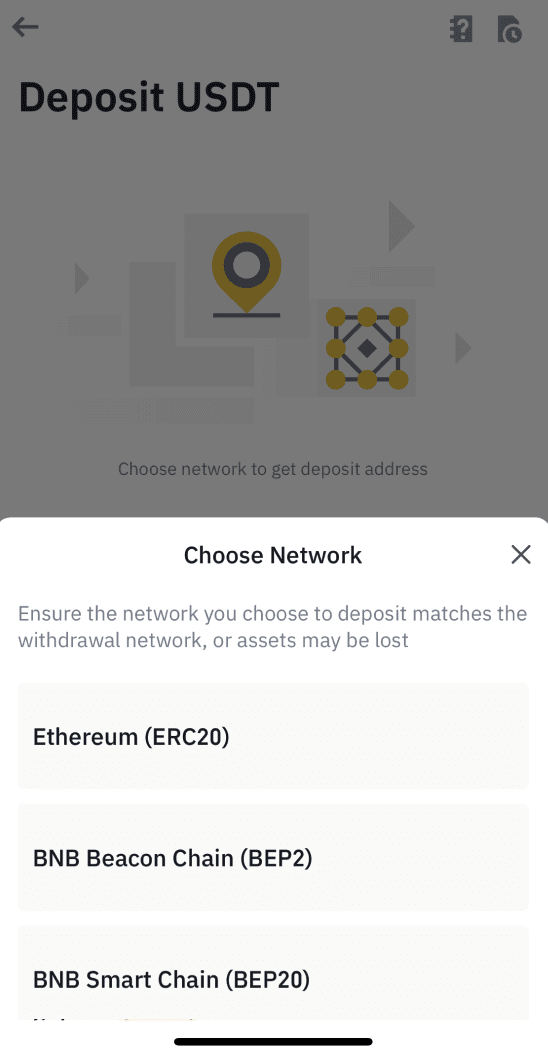
STEP 2Choose USDT & you will see the available network for depositing USDT. Please choose the deposit network carefully and make sure that the selected network is the same as the network of the platform you are withdrawing funds from. If you select the wrong network, you will lose your funds. ERC-20 refers to the Ethereum network. Its native cryptocurrency is ETH.
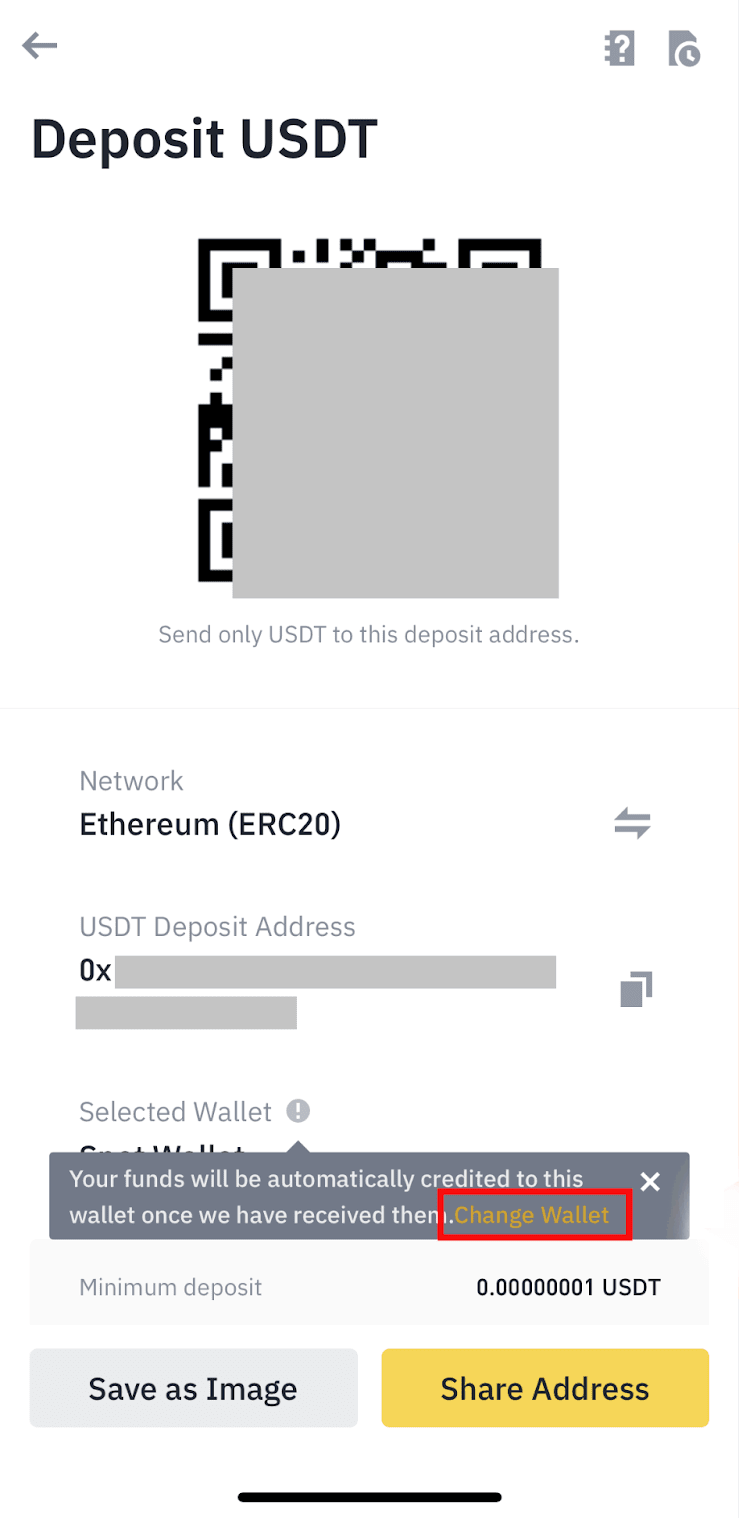
STEP 3You will see a QR code and the deposit address. Tap to copy your Binance Wallet’s deposit address and paste it to the address field on the platform you intend to withdraw crypto from. You may also tap [Save as Image] and import the QR code on the withdrawing platform directly. You may also tap [Change Wallet] to select either the Spot Wallet or Funding Wallet to make a deposit.
Remark:The USDT exchange rate is based on the market rate.